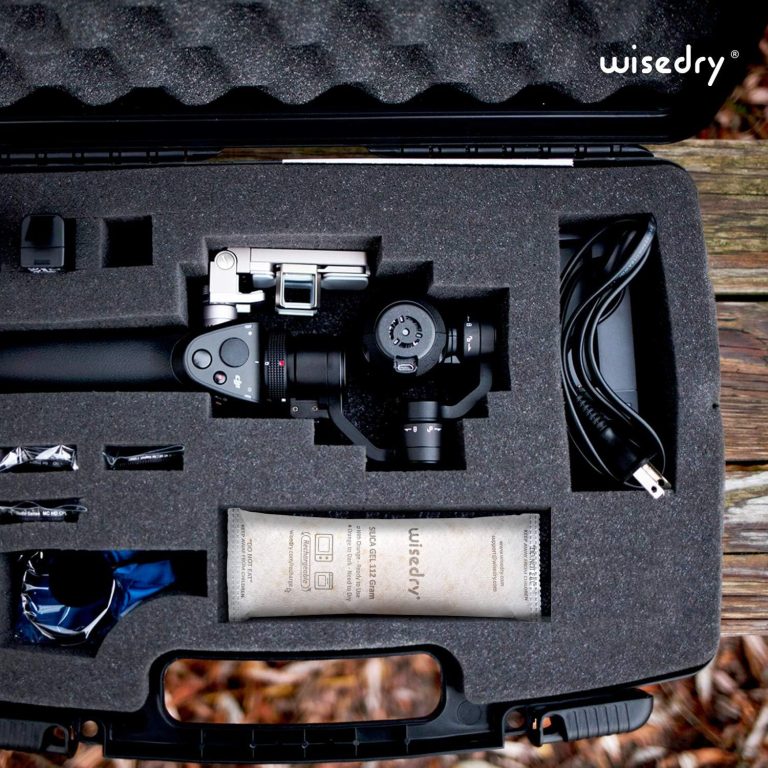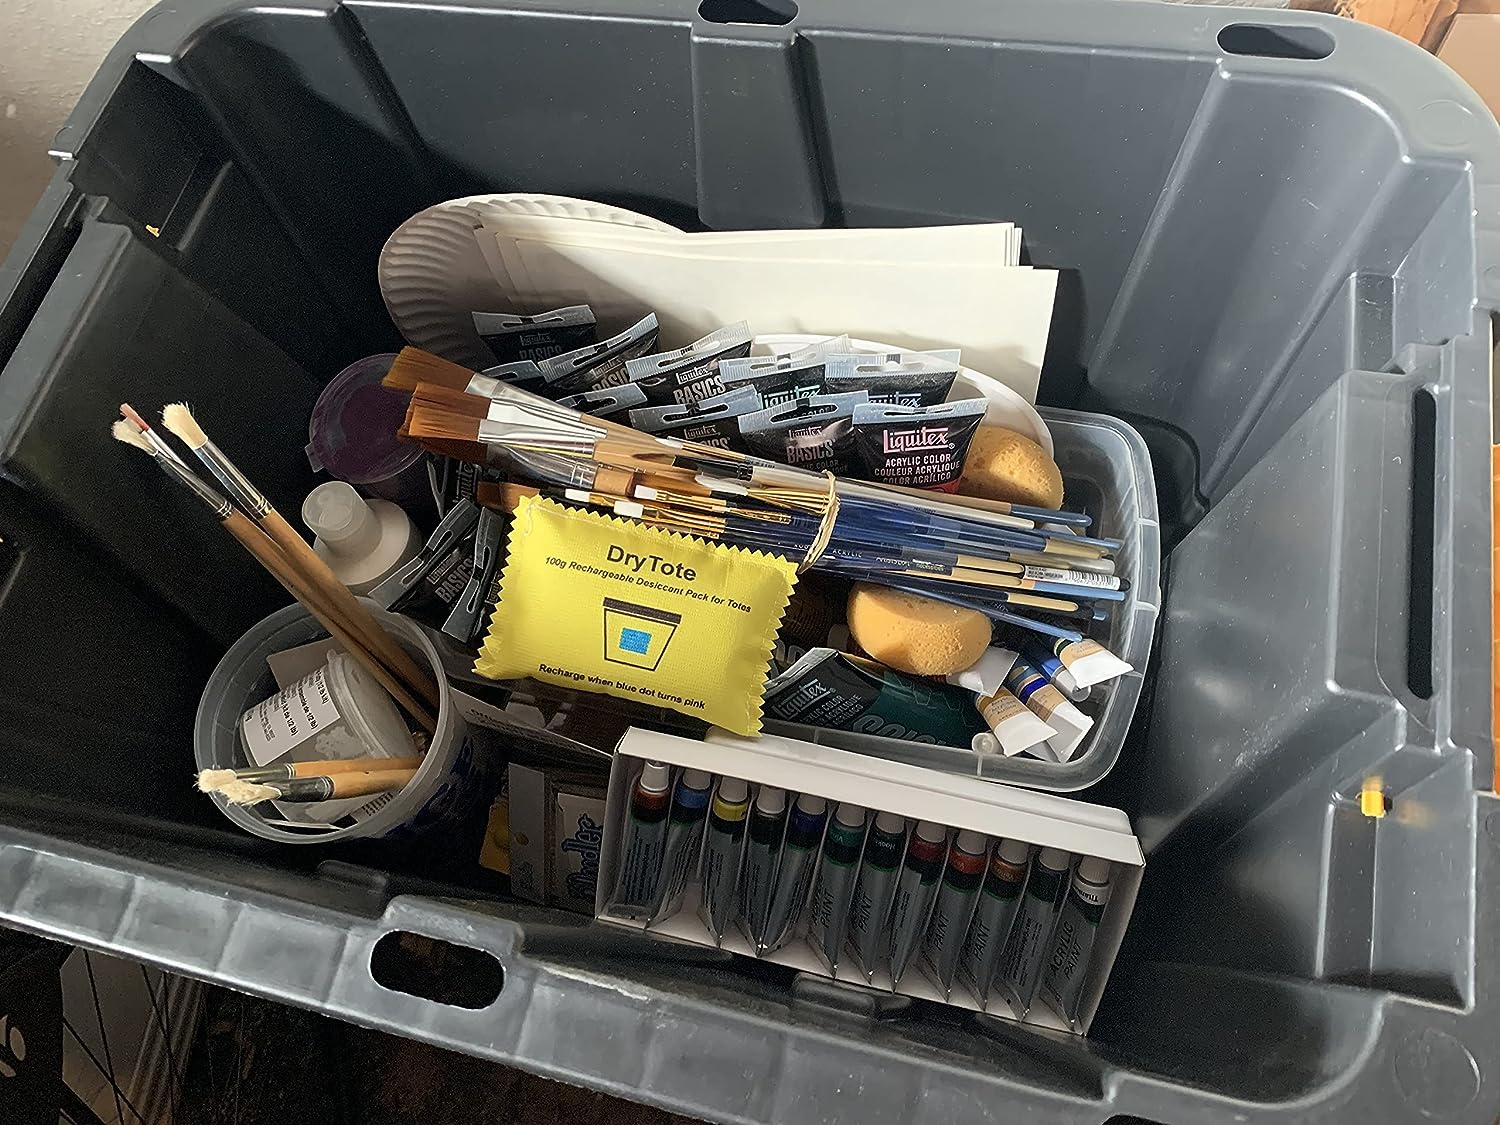
A filament storage box can look closed while still exchanging air through a warped lid, dusty gasket, loose latch, cable opening, or spool-feed port. When humid room air keeps entering, the desiccant has to absorb a new moisture load instead of maintaining the smaller amount of air already inside the box.
The fastest way to troubleshoot this is to check the container in a fixed order: lid and rim, gasket, latches, corners, ports, then your normal opening routine. Clean obvious debris, close every latch evenly, and use simple light and paper-strip checks before adding more silica gel.
This guide is for storage-container inspection only. It does not diagnose a printer, repair wet filament, or guarantee a particular relative-humidity reading.
First Separate a Leak From a Normal Humidity Rise
A humidity increase does not automatically mean the box leaks. The reading can rise for several ordinary reasons:
- You opened the lid and replaced dry box air with humid room air.
- A warm spool or recently handled item went into the container.
- The sensor needs time to settle after the lid closes.
- The desiccant is already near its used-state indicator.
- The container is opened often enough that the current desiccant setup cannot recover between openings.
Close the container normally and watch the trend, not one instant reading. If humidity rises immediately after opening and then gradually moves back toward its usual range, air exchange during opening may be the main cause. The guide on why filament-box humidity rises after opening explains that pattern in more detail.
A leak becomes more likely when the box repeatedly loses its usual dry trend without being opened, the desiccant reaches its used-state indicator sooner than it did under similar conditions, or one area of the lid never feels as secure as the others.
Check 1: The Lid and Container Rim
Remove the lid and inspect the full contact surface. Look for:
- filament scraps, dust, labels, or packaging caught on the rim;
- a lid seated on top of an internal divider or spool edge;
- a corner that stays slightly higher than the other corners;
- cracks, dents, or permanent warping;
- hinges that pull one side out of alignment;
- a latch that closes without pulling the lid down.
Wipe the rim with a clean, dry cloth. Reinstall the lid without forcing it and press around the perimeter. The pressure should feel reasonably even. If one corner rocks or springs upward, do not compensate by adding more desiccant. First correct the obstruction or use a container whose lid closes evenly.
Check 2: The Gasket or Sealing Strip
If the box has a rubber, silicone, or foam seal, inspect it all the way around. A gasket can leak when it is:
- twisted out of its channel;
- flattened more on one side;
- dirty or covered with fine filament dust;
- cut, torn, or missing at a corner;
- pinched by a hinge or latch;
- too short to meet cleanly at its ends.
Clean only according to the container maker’s instructions and let the seal dry before closing the box. Do not coat the gasket with an unapproved oil, adhesive, or sealant; some materials can swell, collect dust, or stop the lid from seating correctly.
Check 3: Latches, Hinges, and Corners
Close the box on a flat surface. Engage latches in a balanced order rather than locking one side hard while the opposite side is still raised. Then compare each corner:
- Press gently near the corner.
- Note whether the lid moves downward.
- Release pressure and see whether it springs back.
- Compare that movement with the other corners.
One loose corner often points to an uneven latch, a warped lid, or a gasket that is not seated. A hinge can also hold the back edge slightly open even when the front latches appear tight.
Avoid tightening improvised hardware until you understand the container design. This article covers observation and cleaning, not structural modification.
Check 4: Filament Feed Ports, Cable Holes, and Sensor Pass-Throughs
A purpose-built dry box may have openings that a plain storage tote does not:
- PTFE tube fittings;
- filament feed holes;
- humidity-sensor wires;
- axle or bearing openings;
- cable pass-throughs;
- unused accessory ports.
Check whether each fitting is fully seated and whether an unused opening has its original cap. Move the filament gently through its normal path and confirm that the tube or fitting does not pull sideways and create a gap. Follow the dry-box maker’s instructions for caps, plugs, seals, and replacement fittings.
Do not block an active feed path with loose material, tape over moving parts, or place a desiccant packet where a spool can crush it. If a port is damaged or its correct seal is unclear, use the manufacturer’s documentation rather than improvising a repair.
Check 5: Use a Paper Strip Around the Perimeter
A narrow paper strip can reveal inconsistent lid pressure without special tools.
- Open the empty or safely arranged box.
- Place a strip of ordinary paper across the rim.
- Close and latch the lid normally.
- Pull the paper gently.
- Repeat at the front, sides, back, and corners.
The pull should feel broadly similar at comparable points. A strip that slides out freely in one area while feeling held elsewhere suggests weaker contact at that section. Do not use thick card, because it can create the very gap you are trying to find.
For additional non-specialist checks, see how to check a container seal without special tools.
Check 6: Use a Flashlight for Visible Gaps
In a dim room, place a small flashlight inside an empty container, close the lid, and inspect the perimeter from outside. A clear line of light can reveal a visible gap around a corner, hinge, or port.
This method does not prove that a box is perfectly airtight. Some leaks are too small to see, and translucent plastic can glow even when the seal is acceptable. Use the flashlight result together with the paper-strip test and the humidity trend.
Check 7: Review What Enters the Box
A good lid cannot offset a repeated moisture load from the contents. Before closing the box, ask:
- Was a spool left in humid room air for an extended period?
- Did a damp cloth, label, or packaging material go inside?
- Is the desiccant showing its used-state color?
- Was the pack allowed to cool completely after recharging?
- Are you opening the whole box every time you change filament?
Store only clean, room-temperature items. Keep the reusable pack clear of spool movement and where air can reach it. For a practical layout, use the guide to store open filament spools with rechargeable desiccant.
Run a Controlled Closed-Box Check
After the visual checks:
- Confirm that the desiccant is in its dry or ready state according to its product instructions.
- Arrange the spools so nothing pushes against the lid, gasket, or ports.
- Close all latches evenly.
- Record the time and humidity reading, if you use a hygrometer.
- Leave the container closed for a consistent observation period.
- Compare the trend with a previous run under similar room conditions.
Do not treat one sensor number as laboratory proof. Consumer hygrometers differ, and readings can change with temperature and sensor position. What matters for troubleshooting is whether the same setup behaves consistently after obvious seal problems are corrected.
Do Not Add More Desiccant Before Checking the Seal
More silica gel can extend the time before saturation in some setups, but it cannot stop outside air from entering through a persistent gap. A leaky box may simply consume the extra capacity faster.
Use the Wisedry filament dry-box amount guide after the container closes consistently. Container volume, seal quality, room humidity, opening frequency, and the condition of stored items all affect the useful amount.
If the packet has reached its used-state indicator, follow the instructions for that exact Wisedry product. Recharge methods differ by packet type, so start at the Wisedry recharge guide hub.
A 60-Second Leak-Check Routine
Before leaving filament in storage:
- wipe the rim and check for trapped scraps;
- seat the gasket in its channel;
- keep spools and packets below the lid line;
- close every latch evenly;
- check that feed ports and caps are seated;
- confirm the desiccant indicator is ready for use;
- record the reading only after the sensor has had time to settle.
Repeating the same short routine makes changes easier to notice than randomly adding packets or moving the sensor after every reading.
Common Mistakes to Avoid
Assuming every humidity rise is a leak
Opening the box naturally exchanges air. Give the closed setup time to settle before changing several variables at once.
Testing with a spool or packet trapped in the lid
Anything across the sealing surface invalidates the test and may damage the packet.
Comparing different room conditions
A box checked during a humid day may behave differently from the same box in a drier room. Compare similar conditions when possible.
Sealing ports with improvised materials
Use the container maker’s specified fittings, caps, and replacements. Improvised material can interfere with the feed path or hide a damaged component.
Treating desiccant as a filament-repair method
Desiccant supports storage by managing moisture in the enclosed air. It is not a promise to restore filament that has already absorbed moisture or to correct print defects.
Frequently Asked Questions
How can I tell whether my filament box is actually leaking?
Look for a repeatable pattern: humidity rises while the box remains closed, the desiccant reaches its used-state indicator unusually quickly under similar conditions, and a paper-strip, lid-pressure, or flashlight check points to a weak area. One reading alone is not enough to identify the cause.
Where do filament dry boxes commonly leak?
Common points include warped lid corners, dirty or pinched gaskets, uneven latches, hinges, PTFE fittings, filament feed holes, sensor-wire pass-throughs, and uncapped accessory ports.
Should I put in more silica gel if the box is not airtight?
Check and correct the container seal first. Adding capacity may delay saturation, but a persistent air path keeps bringing in new moisture. After the box closes consistently, use the amount guide to review packet size and placement.
Can I test the seal without a pressure gauge?
Yes. Compare paper-strip resistance around the lid, inspect the gasket and corners, and use a flashlight to look for visible gaps. These are practical screening checks, not laboratory airtightness tests.
When should I contact support?
If a Wisedry packet behaves unusually after you have checked its indicator, recharge instructions, cooling step, placement, amount, and container seal, contact Wisedry Support with the product type, container size, opening frequency, and what you observed.
Check the Box Before Blaming the Pack
A useful filament-storage setup is a system: a container that closes consistently, a sensible opening routine, correctly placed desiccant, and repeatable observations. Check the physical air paths first, then evaluate the amount and recharge timing.
Contact Wisedry Support if a Wisedry reusable pack still behaves unexpectedly after the container, placement, and recharge steps have been checked.