
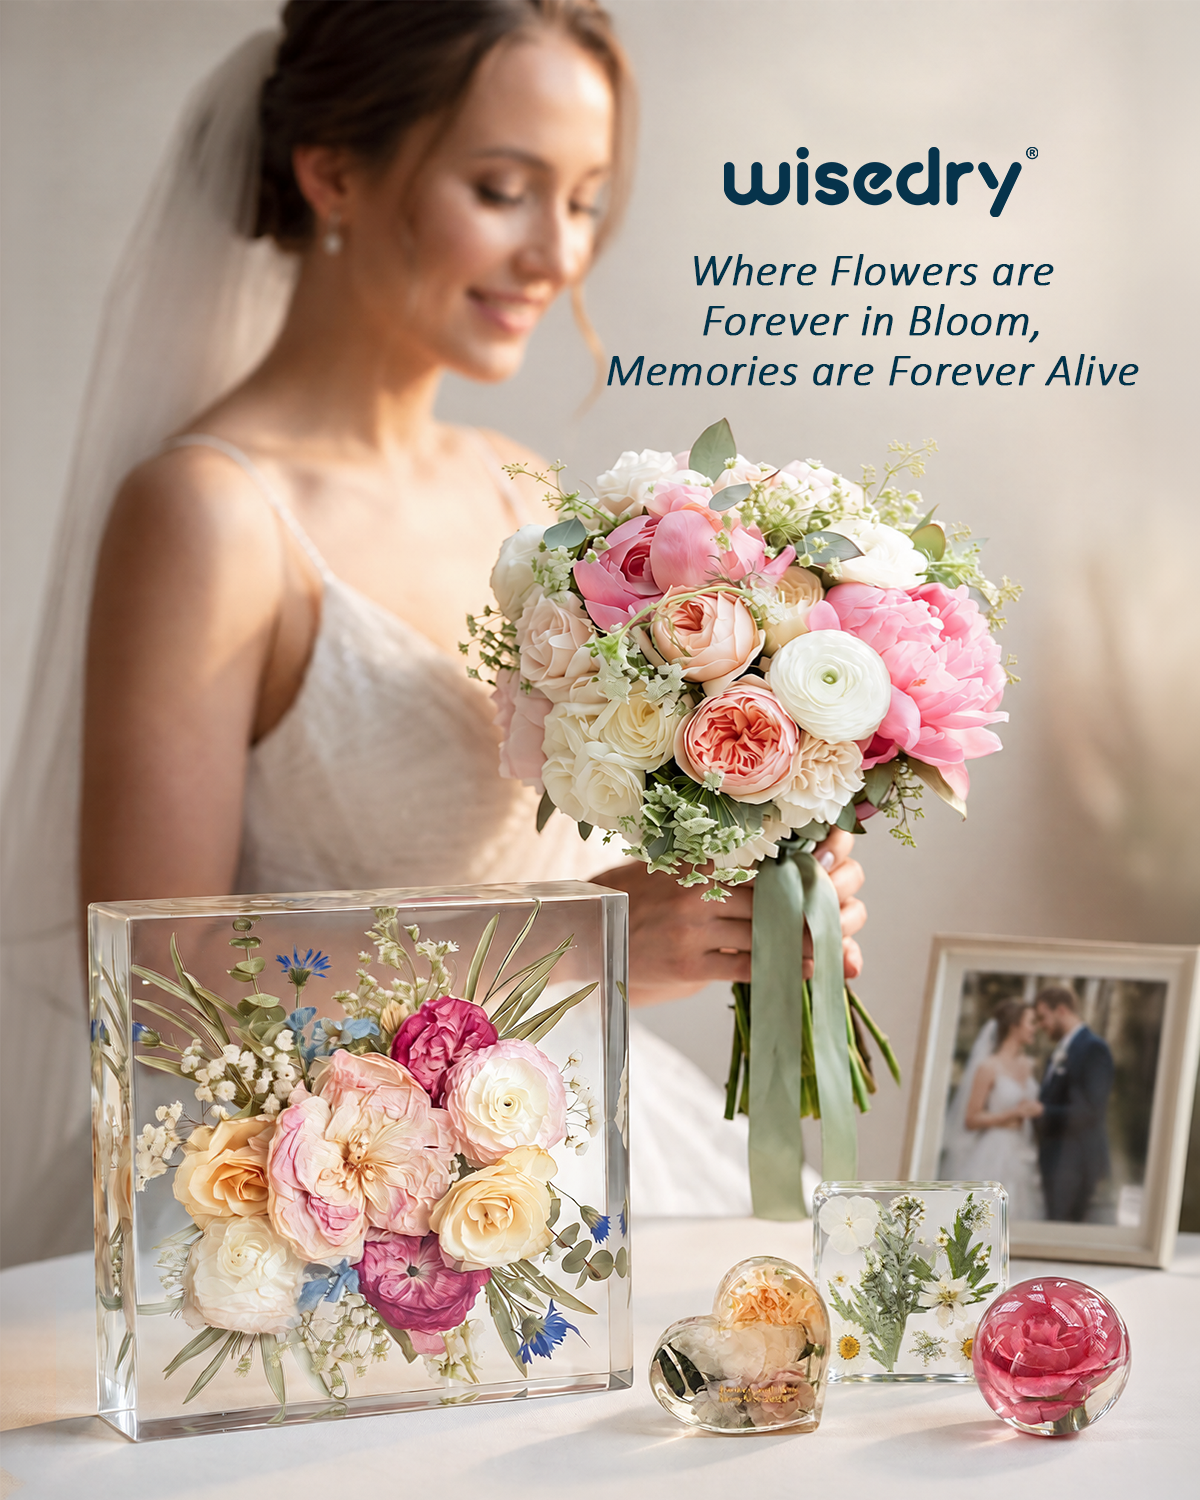
How to Display Dried Flowers in a Shadow Box: Fast Answer
Drying flowers in silica gel keeps their shape and color; a shadow box turns them into wall art you see every day. To display dried flowers in a shadow box: choose a box at least 2 inches deep, fix a background, arrange the flattest bloom face-up first, build layers toward the boldest flower, secure everything, and seal the back panel. Keep the box away from direct sunlight and humid rooms so the colors last.
Shadow Box vs Frame vs Dome: Which Display Works for Dried Flowers?
A shadow box is a deep, enclosed case; a frame presses flowers flat behind glass; a dome leaves blooms exposed to open air. Dried flowers are brittle and light-sensitive, so the display choice directly affects how long they last.
- Shadow box: protects on all sides, keeps 3D shape, hides hardware — best for full bridal bouquets and bulky blooms.
- Press frame: flattens flowers like a bookmark (see pressed flower storage) — best for single stems and pressed-flower art.
- Glass dome: decorative but open at the base; dust and humidity still get in — best for short-term displays.
If your flowers were dried in silica gel crystals and still hold their natural form, the depth of a shadow box is what shows that form off.
What You Need Before You Start
- A shadow box at least 2 inches (5 cm) deep — shallow boxes crush petals when the back goes on.
- Your fully dried flowers (a bouquet dried in flower-drying silica gel keeps color and shape best).
- Acid-free cardstock or linen for the background.
- Clear-drying craft glue, floral wire, or pins.
- Tw tweezers — fingers crush brittle petals fast.
- Silica gel sachets for the final moisture check (optional but smart).
Step 1: Make Sure the Flowers Are Fully Dry
Squeeze test one petal: if it feels cool, soft, or bends without a dry snap, moisture is still inside. Sealing damp flowers into a closed box traps that humidity and invites mold — the number one killer of preserved bouquets. If in doubt, our airtight shadow box guide covers, or bury the blooms back in flower-drying crystals for a few more days until they feel paper-dry.
Step 2: Plan the Layout Outside the Box
Arrange the bouquet on the table first, exactly as it will sit in the box. Put large anchor blooms (roses, peonies) slightly off-center, fill gaps with smaller flowers, and leave breathing space — a packed box looks cluttered and traps moisture between petals. Photograph the final layout so you can rebuild it quickly.
Step 3: Prepare the Background
Cut acid-free cardstock or linen to fit the backing board. Acid-free matters: regular cardboard off-gasses and yellows both the paper and the petals over time. If the box has foam board backing, pins work without glue; otherwise plan to use small dots of clear glue.
Step 4: Fix the Flowers in Layers
Work from the photo you took:
- Glue or pin foliage and flat flowers first as the base layer.
- Layer mid-size blooms next, slightly overlapping the base so no bare backing shows.
- Anchor the hero bloom(s) last with the least glue possible — a dab under the calyx (the green base) holds without visible shine.
- Let the arrangement sit uncovered for an hour so glue fully cures before sealing.
Step 5: Add Moisture Protection, Then Seal
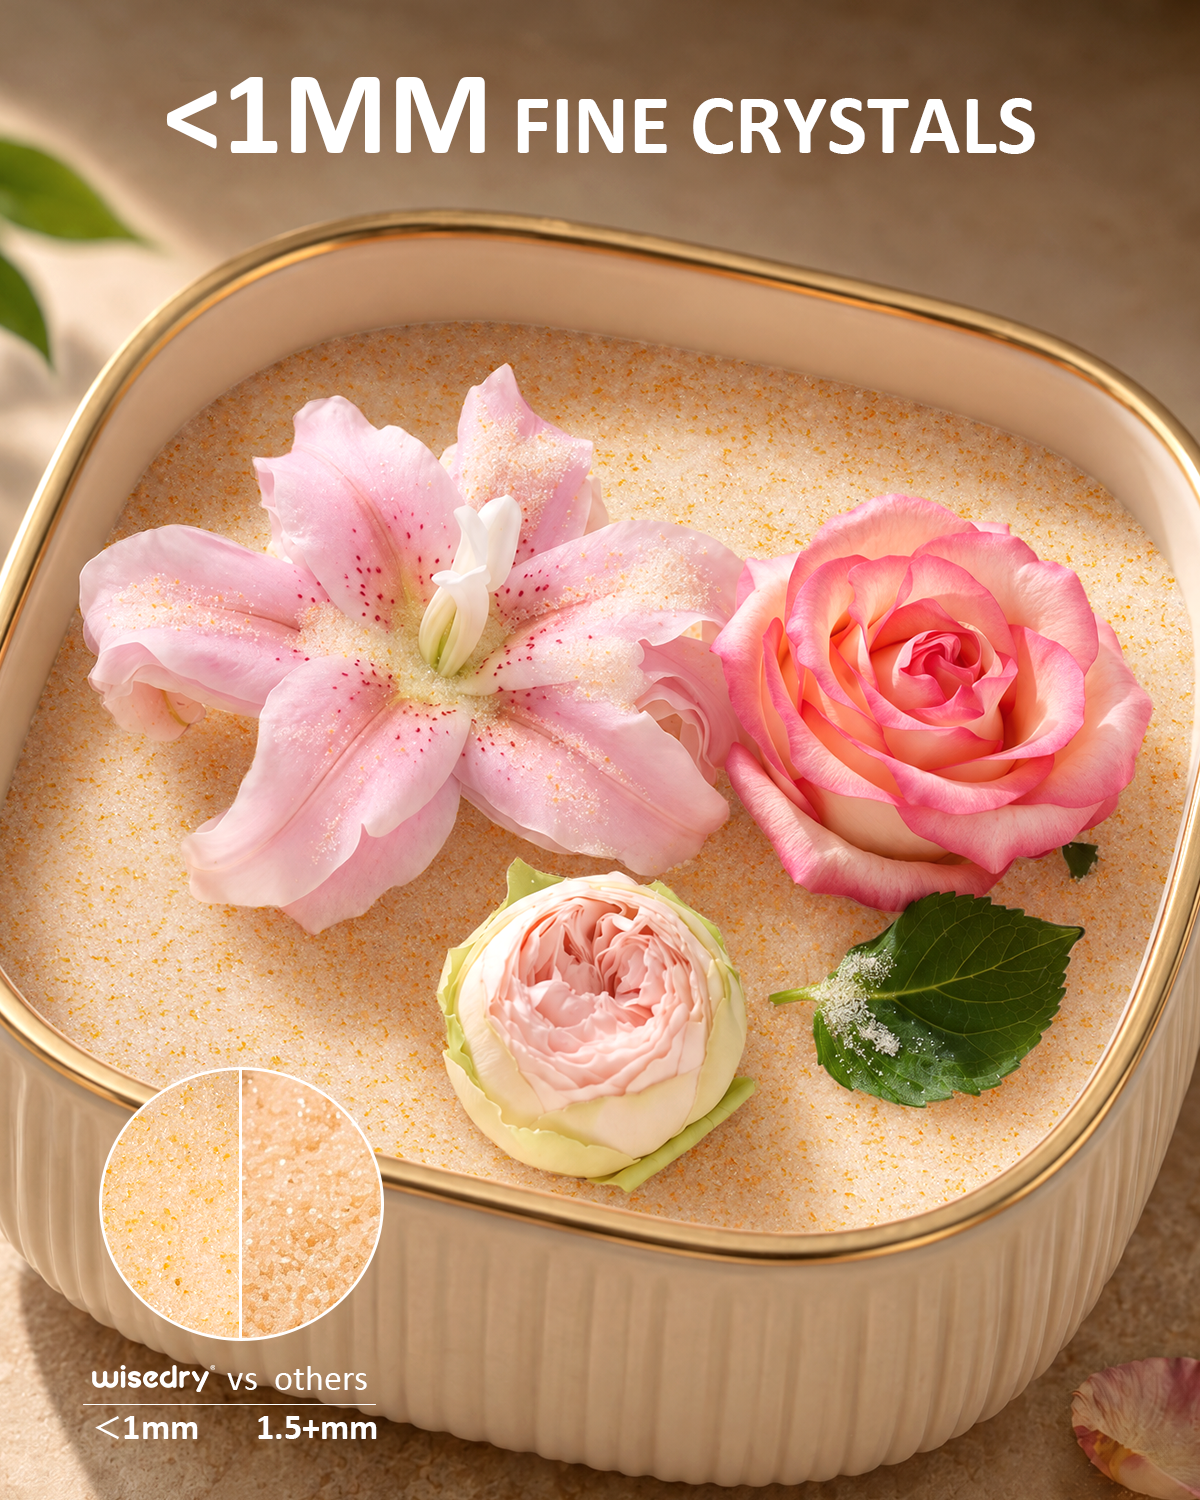
Tuck one small silica gel sachet into a corner behind the arrangement — it quietly absorbs any residual moisture without touching the petals. Then close and seal the back panel. A well-fitted back with tape or the box’s own clips keeps humid room air out; the sachet handles the trace amounts that still find their way in.
Where to Hang or Place the Finished Box
- Avoid direct sunlight: UV bleaches petals within months; an interior wall or hallway is ideal.
- Avoid bathrooms and kitchens: steam cycles crack brittle petals.
- Avoid above radiators or fireplaces: heat dries petals further until they shatter.
- A stable, room-temperature interior wall keeps colors vivid for years.
Care and Long-Term Checkups
Dust the front glass with a dry microfiber cloth — never spray cleaner on the frame, liquid can seep into seams. Twice a year, open nothing but look: if you see fogging inside the glass, dark spots on petals, or a musty smell, humidity got in. Swap the sachet, and if spotting spreads, re-dry the flowers in fresh crystals (full recharge guide) before resealing.
Frequently Asked Questions
How deep should a shadow box be for dried flowers?
At least 2 inches (5 cm). A bouquet dried in silica gel keeps its 3D shape, and shallow boxes crush petals when the back panel goes on.
Do dried flowers mold inside a shadow box?
Only if they were sealed while still damp or the box sits in a humid room. Dry flowers fully first, add a small silica gel sachet, and mount the box away from bathrooms and kitchens.
Can I display a whole wedding bouquet in one shadow box?
Yes — 2–3 inch deep boxes handle a full bouquet’s height. For very large bouquets, display the hero blooms in the box and press a few spare stems in a frame as a matching set.
How long do dried flowers last in a shadow box?
With fully dried flowers, a sealed box, and no direct sunlight, colors typically stay vivid for several years. Twice-yearly checkups catch moisture problems early.
Should I use hairspray to fix dried flowers in place?
No. Hairspray attracts dust and yellows over time. Clear-drying craft glue under the calyx, or pins through stems into foam board, holds flowers without coating the petals.
Final Thoughts
Displaying dried flowers in a shadow box is a weekend project with years of payoff: dry the blooms completely, build the layout in layers, seal with a sachet inside, and hang it out of the sun. The deep case does what frames and domes can’t — it protects the shape your flowers kept from the drying process, so the bouquet looks the way you remember it, not a flattened version of it.


