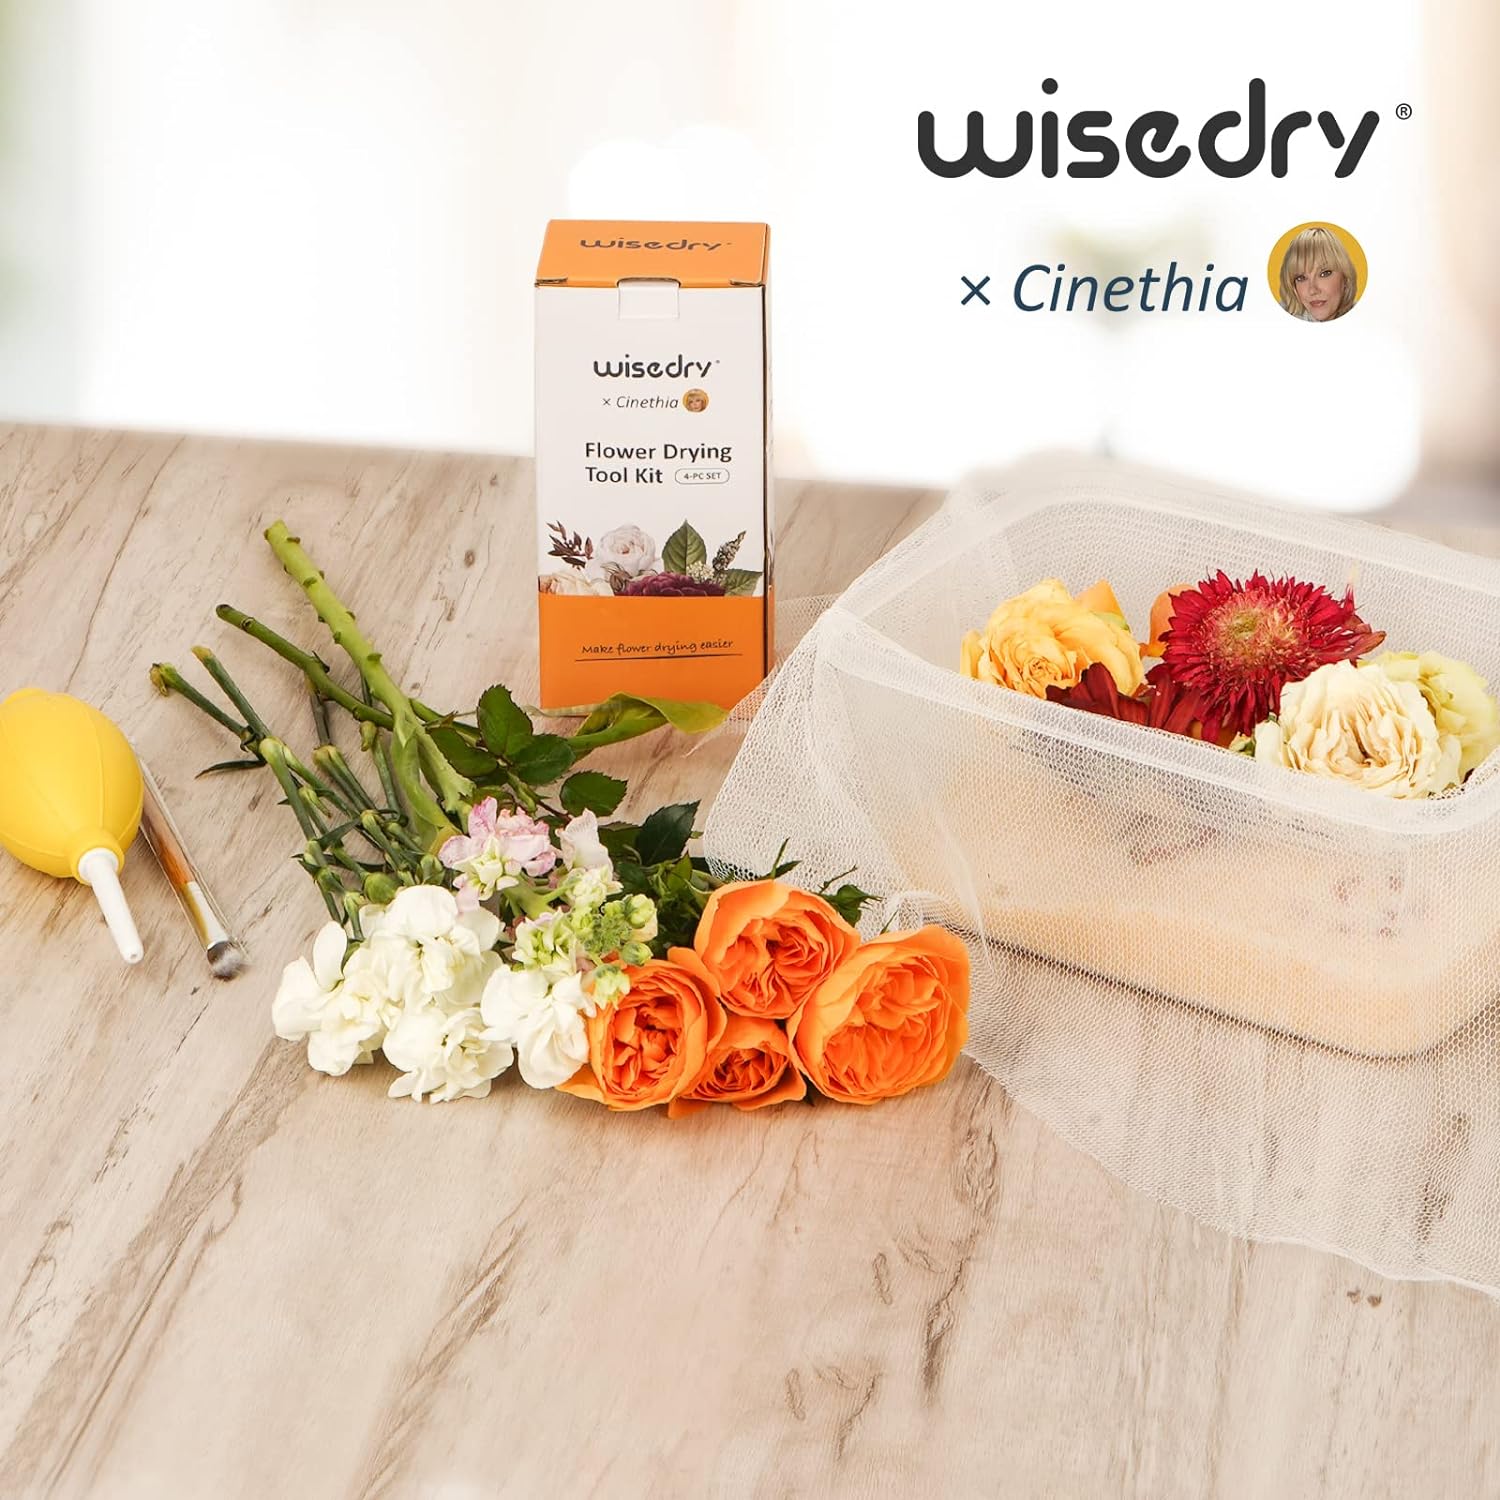
Removing a dried flower from silica gel should feel like careful excavation, not like pulling an object out of sand. Once the petals are dry, they may hold their shape beautifully, but they can also be thin, brittle, and easy to crease. The safest approach is to move the crystals away from the flower first, support the bloom while it is still in the container, and clean the remaining grains with a soft tool after lifting.
Quick answer: place the drying container on a clean tray, scoop silica gel away from the top and sides of the bloom, support the flower by its stem or underside, and lift only when it can move without resistance. Let loose crystals fall away, then use a clean, soft artist brush to sweep remaining grains from the center outward. Do not pull trapped crystals through petals, shake the flower hard, or rinse it with water.
This guide focuses on the removal and cleanup stage. If you are still covering fresh flowers, begin with How To Pour Silica Gel Around Flower Petals Without Crushing Them.
Before opening the drying container, use How To Set Up A Clean Tray Before Removing Flowers From Silica Gel to arrange a dry tool zone, flower landing area, crystal recovery cup, and debris area.
Why The Removal Step Needs A Different Pace
Silica gel supports a flower while it dries, but that support also means crystals can sit between petal layers, around the stem, and under curved edges. Pulling the bloom upward while those areas are still packed can transfer pressure to the most fragile parts.
A slower removal routine helps you:
- See where the flower is still supported by crystals.
- Clear weight from the top before moving the stem.
- Keep loose grains on a tray instead of scattering them across the workspace.
- Separate intact reusable silica gel from plant fragments.
- Inspect the flower before it goes into storage, display, or another craft step.
The aim is not to remove every crystal in one motion. It is to reduce pressure in stages.
Gather A Simple Cleanup Kit
Set up the workspace before opening the drying container. Useful tools include:
- A clean tray or shallow box to catch loose silica gel.
- A small scoop or spoon for removing the bulk of the crystals.
- A soft, clean artist brush for petals and flower centers.
- Fine craft tweezers for a visible grain that will not brush away easily.
- A small hand air blower, used only with very gentle puffs and enough distance to avoid folding petals.
- A second clean container for recovered silica gel.
Keep every tool dry. Water, damp wipes, wet brushes, and steam do not belong in this cleanup step. A dry white or light-colored tray can make orange indicator crystals and plant fragments easier to see.
Step 1: Move The Container Before You Open It
Carry the closed drying container to the cleanup tray first. Opening it at the shelf and walking across the room with an uncovered bloom increases the chance of spills and sudden movement.
Place the container on a flat surface where you can work from more than one side. Remove clutter, drinks, wet tools, resin, and adhesives from the area. If the flower is a keepsake, give yourself enough room to set it down without stacking anything nearby.
Open the lid straight up. Do not tilt the container yet. A tilt can make the entire crystal bed slide across the flower before you know how the bloom is positioned.
Step 2: Scoop Away The Top Layer
Start with the silica gel that is clearly above and around the flower. Use a small scoop or spoon and remove shallow layers rather than digging beside the bloom in one deep motion.
Work around the perimeter first. As the shape of the flower appears, slow down. Near the petals, turn the scoop so its edge moves parallel to the flower instead of pointing toward it. This reduces the chance of catching a petal underneath the tool.
A practical sequence is:
- Remove loose silica gel from the corners of the container.
- Lower the level around the outside of the bloom.
- Uncover the topmost petals without touching them.
- Clear the stem area enough to see where you can support it.
- Leave a thin supporting layer underneath until you are ready to lift.
Do not use the scoop to pry the flower upward. The scoop moves crystals; your hand supports the flower.
Step 3: Free The Sides Before The Center
Layered flowers can hold crystals between petals. Resist the urge to brush the center immediately while the bloom is still surrounded by a high crystal wall. First clear enough material from the sides so loose grains have somewhere to fall.
For roses, peonies, ranunculus, and similar layered blooms, uncover one side, rotate your working position, and uncover the opposite side. Do not rotate the flower itself while it is packed. For flatter flowers, clear the entire outline before lifting.
If a petal edge appears trapped, remove crystals beside and below that edge. Do not pull the petal free. Reducing the surrounding pressure usually gives the petal room to release without being bent.
Step 4: Support The Flower Before Lifting
When most of the bloom is visible, decide where it can be supported. A sturdy stem may provide a grip, but do not rely on a brittle or very short stem. For a stemless bloom, slide two fingers or a small flat support under the base after clearing a path.
Lift slowly and only a short distance at first. If the flower does not move freely, set it back down and remove more silica gel. Resistance is a signal that crystals are still packed around a petal, leaf, or stem—not a reason to pull harder.
Keep the flower over the tray as you lift. Hold it upright or at its natural drying angle so loose crystals can fall without scraping across the petal surfaces.
Step 5: Let Loose Crystals Fall Naturally
Pause over the tray and give the bloom time to release loose silica gel. A small change in angle may help, but avoid vigorous shaking, tapping the stem against the tray, or blowing directly into the flower center.
For an open flower, angle the bloom slightly downward and return it upright. For a tightly layered flower, keep movements even smaller because grains can shift through narrow petal gaps. If crystals remain inside, move to brushing instead of increasing the force.
Collected silica gel can be inspected later. Keep obvious petal pieces, stem fragments, and dust out of the clean batch before storage or recharge. For the between-project routine, see How To Store Flower Drying Silica Gel Between Projects.
Step 6: Brush From Open Areas Toward The Edge
Use a clean, soft artist brush with flexible bristles. Start where a grain is clearly visible and where the petal has support underneath. Use short, light strokes that guide crystals toward an open edge.
For the flower center:
- Hold the bloom so the center faces slightly downward.
- Touch the brush lightly to the crystal, not deep into the petals.
- Sweep outward along the natural direction of the petal layers.
- Turn your hand or working position rather than twisting the bloom repeatedly.
For outer petals:
- Support the petal from below when practical.
- Brush toward the nearest free edge.
- Stop if the petal flexes more than the crystal moves.
- Clear surrounding grains before returning to a stubborn spot.
Do not scrub. Several light passes are safer than one firm pass.
Step 7: Use Tweezers Only For A Clearly Accessible Grain
Tweezers can help when one crystal rests in an open fold and will not move with a brush. They are not a tool for probing blindly between petals.
Before using tweezers, confirm that you can see the entire grain and that the tips will not pinch the petal. Approach parallel to the petal surface, grip the crystal gently, and lift it away without dragging it along the edge.
If a grain is deep inside a tight flower center, leave it for another gentle brush pass. Trying to reach a hidden crystal can do more damage than the visible grain itself.
Step 8: Use An Air Blower Sparingly
A small hand air blower can move fine dust or a loose grain after brushing, but airflow must be gentle. Keep the nozzle away from the flower, point across the surface rather than directly into the center, and test one light puff first.
Stop if petals flutter, fold, or move against each other. Do not use compressed-air cans, workshop air lines, hair dryers, or hot airflow. Strong or heated air is difficult to control around a brittle bloom.
For many flowers, a scoop and soft brush are enough. The air blower is optional, not a required final step.
What Not To Do
Do Not Pull The Flower Through Packed Silica Gel
Clear the crystal bed first. Pulling transfers the resistance to petals and stems.
Do Not Shake Or Tap Aggressively
Hard movement can crack dry petals even when the flower looks sturdy.
Do Not Rinse The Flower
Water can soften petals, change their shape, and undo the dry handling conditions you worked to create.
Do Not Press A Brush Into The Flower Center
Use surface strokes from an open area toward an edge. Deep probing can fold inner petals.
Do Not Chase Every Speck At Any Cost
Inspect the flower under good light, but stop if removing a tiny hidden grain would require bending or prying the bloom.
A 60-Second Final Check
Before moving the flower to storage or a project tray, check:
- The bloom lifts and rests without loose silica gel spilling from underneath.
- No large grain is visibly wedged against a petal edge.
- The stem and underside are free of packed crystals.
- Petals are not folded from the cleanup process.
- The flower still feels dry and stable for its next step.
- Recovered silica gel is separated from plant debris.
If you are not using the flower immediately, follow How To Store Dried Flowers After Using Silica Gel and avoid leaving the cleaned bloom on an open workbench.
FAQ
What is the best brush for removing silica gel from dried flowers?
Use a clean, dry artist brush with soft, flexible bristles. The brush should move a visible grain with a light stroke rather than requiring pressure. Keep a dedicated brush for flower cleanup so it does not carry paint, resin, oil, or moisture.
Can I shake a dried flower to remove silica gel?
A very small change in angle over a tray can release loose crystals, but vigorous shaking or tapping can break brittle petals and stems. Scoop away the crystal bed first, support the flower, and use a soft brush for the remaining grains.
Can I use a hair dryer or compressed air?
Avoid both. Strong or heated airflow is difficult to control and can fold petals or scatter silica gel. If needed, use a small hand air blower from a distance with one very gentle puff after brushing.
What if silica gel is stuck deep inside a rose?
Clear the outer areas, angle the rose slightly downward, and brush outward from visible openings. Do not force tweezers deep into the center. Several gentle passes are safer than prying tightly layered petals apart.
Should I clean the silica gel after removing the flowers?
Remove visible petals, stems, and other debris before storing the crystals. Keep the material in a clean, dry, closed container and check its indicator condition before the next project. Follow the current Wisedry flower drying crystal recharge instructions when recharge is needed.
Next Step
For a complete start-to-finish flower drying reference, get the Wisedry Flower Drying eBook. If you are preparing another batch, you can also shop Wisedry flower drying supplies or visit Wisedry Support for a product-specific question.