Adding silica gel to a box that does not seal is like running the heater with the window open: the pack keeps working, but mostly on air that never needed fixing. A short, repeatable checklist before you close the lid catches the small fit and moisture problems that quietly double the workload on your desiccant. It takes about five minutes with things you already own, and it works the same for plastic totes, ammo-style cans, camera dry boxes, craft bins, and small safes.
Quick Answer
Before adding silica gel, check five things in order: empty and dry the contents, confirm the lid seats flat, inspect the gasket and latch, plan where the packet will sit, and run one final seal test after packing. If any step fails, fix it first — the Wisedry amount guide assumes a container that actually holds its own air.
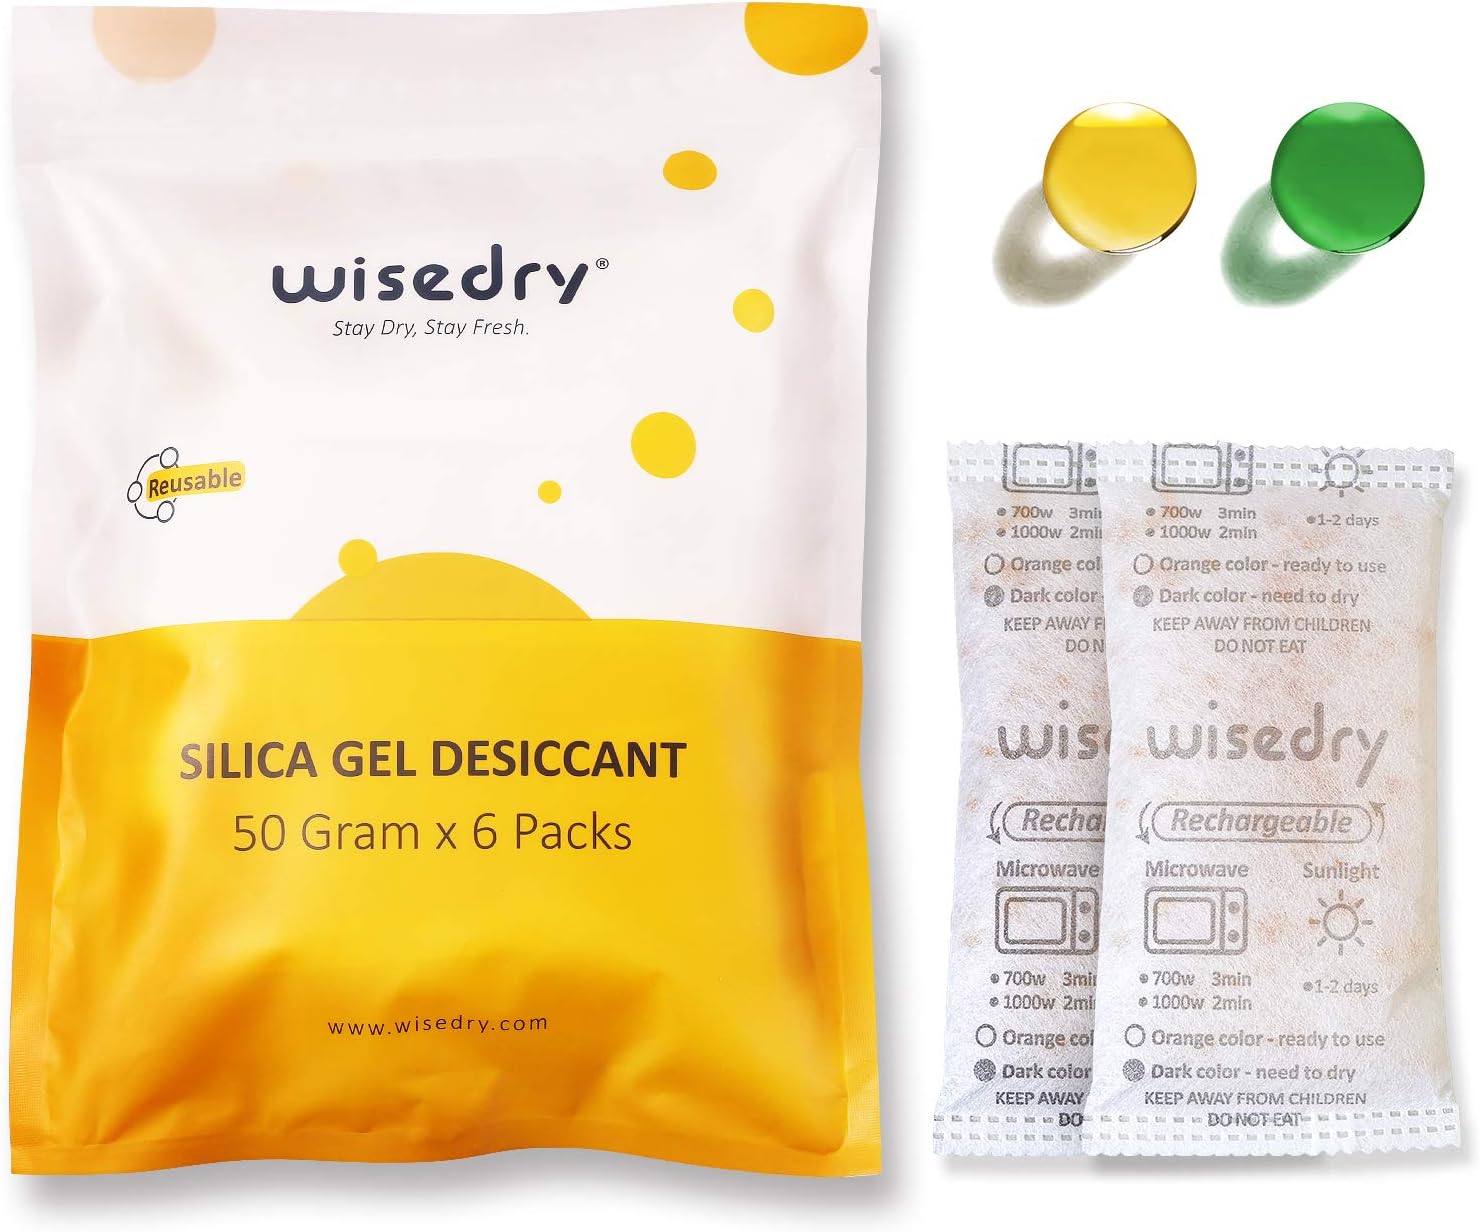
Planning a fresh setup? Shop Wisedry reusable silica gel packets so the checklist starts with a known-good pack.
Check 1: Empty The Box And Dry What Goes Back In
The most common checklist skip is also the cheapest one. Whatever moisture you seal inside on day one is what the desiccant spends its capacity on.
- Wipe the inside of the box with a dry cloth; condensation film on the lid counts as wet.
- Let items that came from a cold car, a damp basement, or a humid workshop reach room temperature before they go in.
- Skip packing anything visibly damp, wet-cleaned, or still holding water-based residue.
- If the box smells musty, air it out first — silica gel controls humidity, but it is not a cleaner or an odor remover.
Check 2: Confirm The Lid Seats Flat
Close the empty box and look at it from the side at eye level.
- The lid line should be even all the way around. A gap at one corner means something is flexing or twisted.
- Press down gently at each corner. A lid that rocks or clicks back up is not sitting flush.
- For soft plastic totes, note that a fully packed box flexes differently than an empty one — recheck after the box is loaded, not only before.
A lid that cannot seat flat will leak no matter how much desiccant you add. The container seal check shows four tool-free tests if you want to go deeper.
Check 3: Inspect The Gasket, Latch, And Hinge Side
Seals fail in specific, findable places:
- Gasket: look for flat spots, cracks, dust, or a section that has popped out of its channel. Reseat it; replace the box if the gasket is perished.
- Latches: every latch should close with the same feel. One open latch leaks the whole box — most bins have one side people forget to press.
- Hinge side: it is part of the seal too. A warped hinge line lifts the opposite edge of the lid without looking obvious.
- Threads and caps: for screw-top jars and canisters, check for cross-threading and crumbs on the sealing ring.
Check 4: Plan The Packet Placement Before You Pack
Before you decide, write down the inside dimensions, packet clearance, seal notes, and opening routine using the focused checklist in What To Measure Before Choosing Desiccant For A Storage Container.
Decide where silica gel goes while the box is still empty — it is the step that saves you from reopening the box an hour later.
- Top layer, open air. The packet goes on top of the contents, never taped under the lid insert and never buried at the bottom.
- One zone per packet. A large tote benefits from a pack in each end rather than one in the middle; sizing by zone is what the small-container sizing guide explains in detail.
- Indicator visible. Turn the packet so its orange-to-green indicator faces the lid or a window you can check without unpacking.
- Nothing touches the beads. Keep packets away from bare metal finishes and soft plastics they will rest against for months.
- Label the box with the date you sealed it, so the first indicator check has a reference point.
Check 5: Pack, Close, And Run One Final Seal Test
Load the box, place the packets, close the lid — then do a 30-second check before you put the box away:
- Run a finger around the lid seam; you should not feel a lip or step at any point.
- Tug each latch once. A latch that looks closed but has not clicked will open itself on a shelf.
- Rock the box gently. Contents should not shift enough to move the packets out of position.
- Write the seal-down date on the label.
If any of those steps fails, reopen and fix it now. Reopening a packed box costs a little capacity; a box that never sealed properly costs all of it. When in doubt about how much desiccant the finished box needs, the seal-quality sizing guide explains how lid fit changes the amount.
Common Mistakes This Checklist Prevents
- Sealing damp contents. The desiccant saturates in days and the box looks like the packets failed.
- Trusting a visual “closed” check. Half-latched lids and lifted gasket corners do not show from above.
- Burying the packet. Air cannot reach a packet under a pile of gear, so it does almost nothing.
- Skipping the recheck after packing. A soft tote that sealed empty can flex open once it is full.
- Reusing a swollen or torn packet. If a packet has gone hard, leaked dust, or will not recharge back to orange, replace it instead of resealing it into a fresh box — the saturated packet check covers what to look for.
FAQ
How do I know if my storage box is airtight enough for silica gel?
Use the checklist: flat lid line, healthy gasket, all latches clicked, and no airflow you can feel at the seam after closing. For a stronger test, the paper-slip method in the container seal check finds weak spots around the lid.
Should I add silica gel before or after packing the box?
Place the packets as you pack, on top of the contents in open air. Adding them to an already overstuffed box usually means burying them, which is the placement mistake this checklist is designed to catch.
Where should the desiccant packet sit in the box?
On top of the contents, indicator facing up or out, away from the latch side so closing never pinches it. In large totes, split the capacity across two packets at opposite ends instead of one in the middle.
Do I need to recheck a sealed box after a few days?
Yes, one early check is worth doing. Open the box once after two or three days, read the indicator, and reseal. It confirms the seal is holding and gives you a baseline for how fast the packets work in that spot.
Does the checklist change for a safe, camera dry box, or ammo-style can?
The steps are the same; only the hardware differs. Metal boxes need their gasket and latch checks even more than plastic totes, because a stiff metal lid hides a bad seal until you test it.
Next Steps
Keep the amount guide open for packet sizing, set a recharge rhythm with the recharge guide, and stock up through Shop Wisedry reusable silica gel packets — or visit Wisedry Support if a container keeps failing the seal test.
After completing the setup, use this monthly desiccant checkup routine for storage boxes to inspect the lid, packet condition, indicator, placement, and check-date label in one repeatable pass.