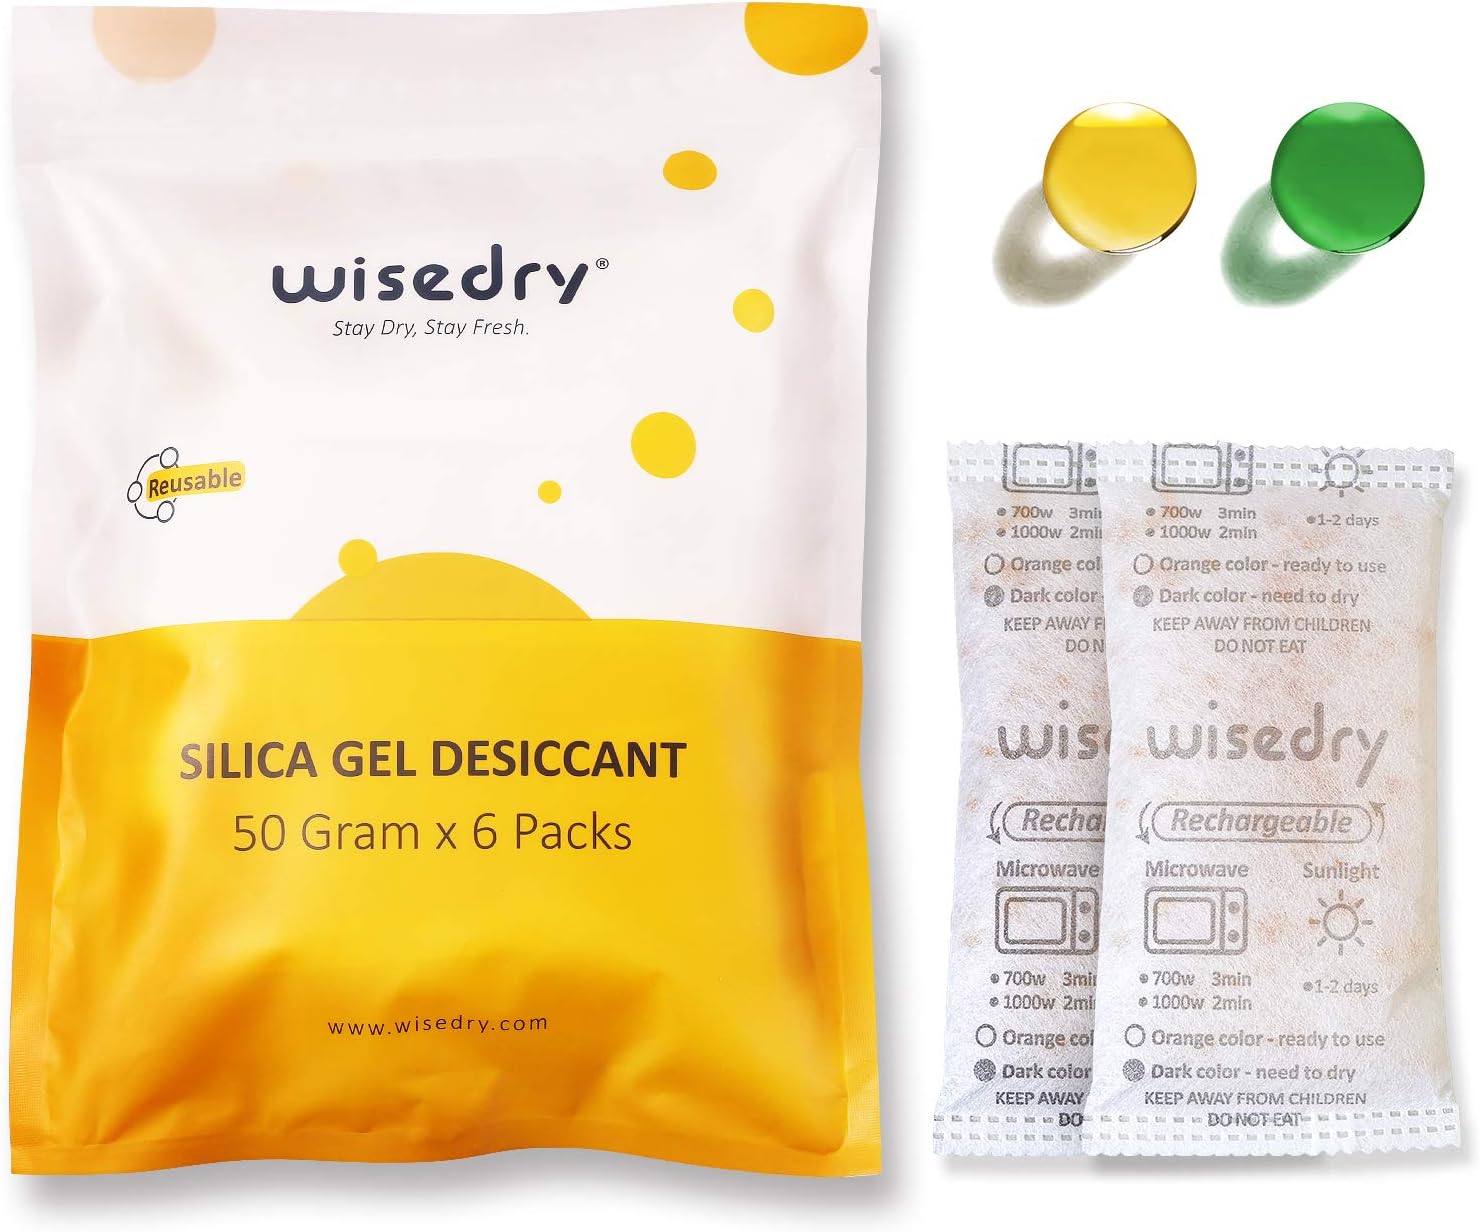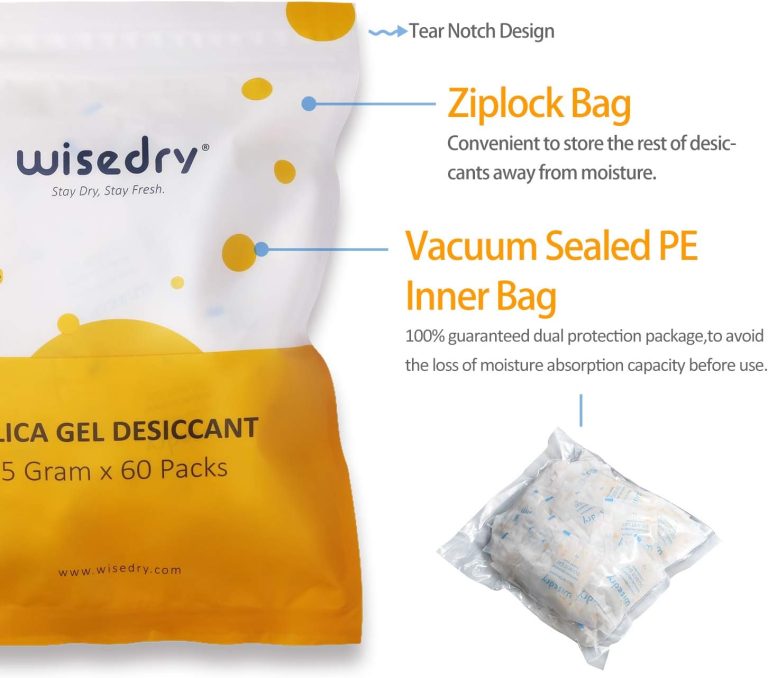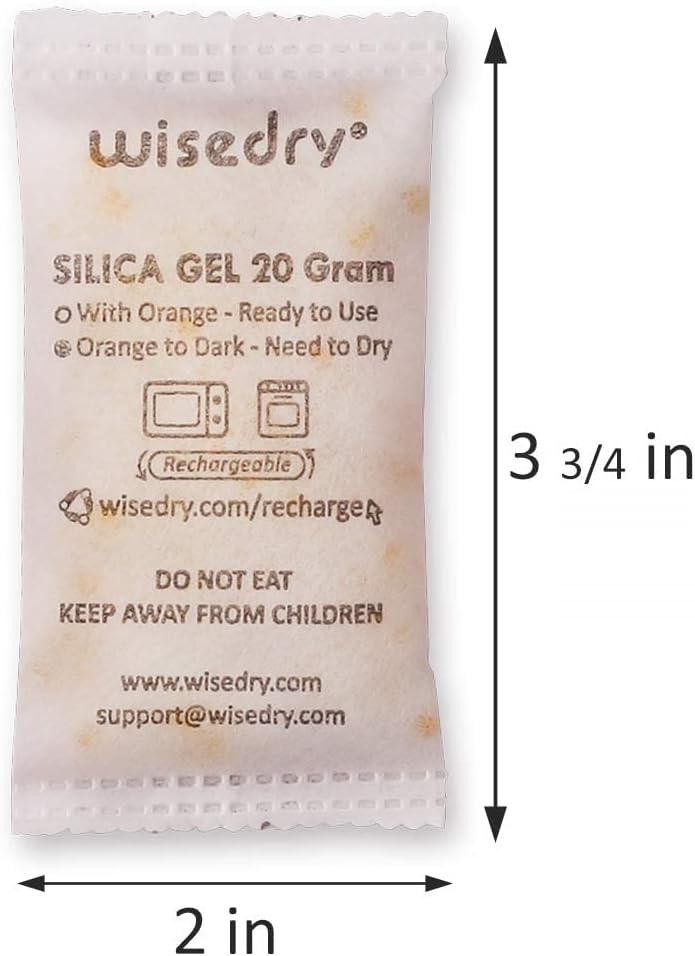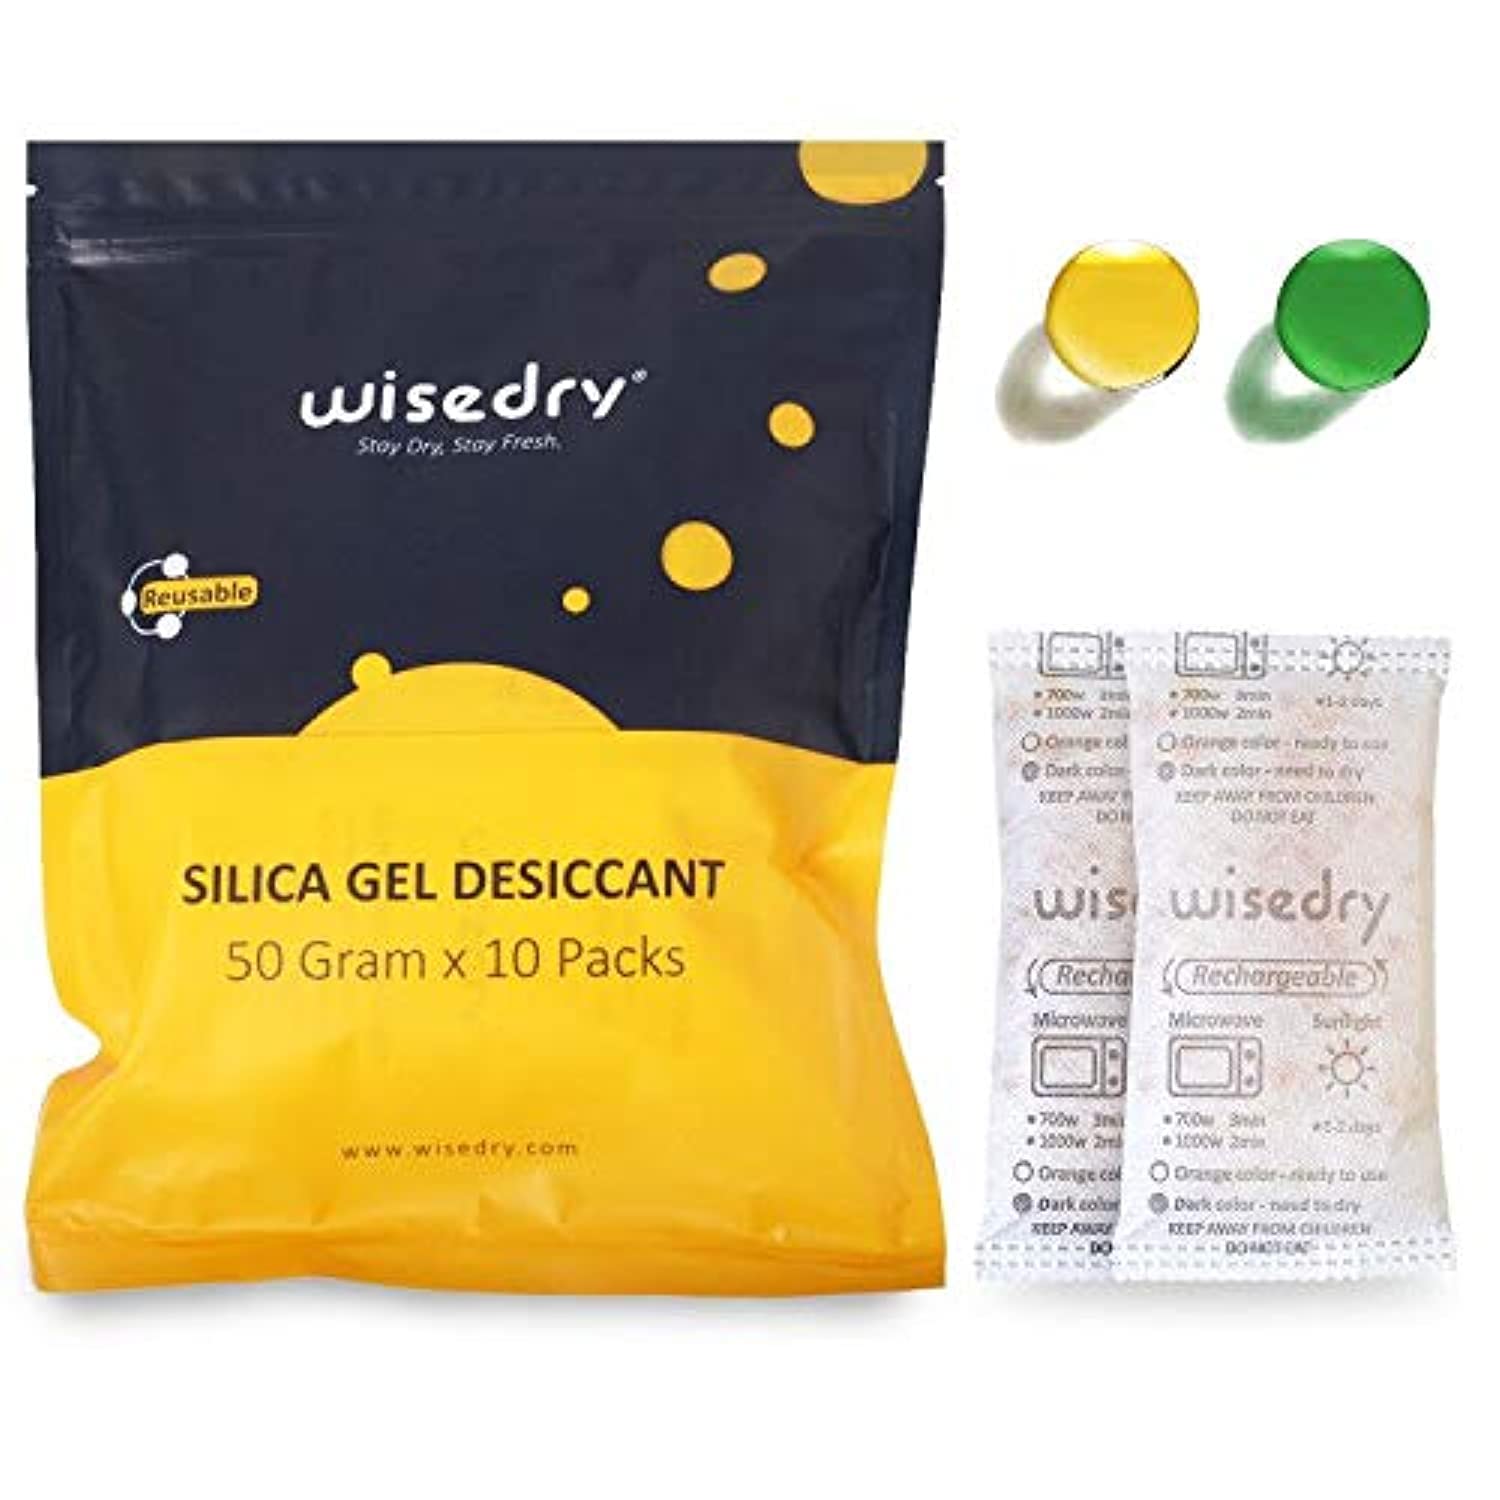
Long-term closed storage works best when you treat the container, contents, desiccant, and check plan as one system. Choose an intact, reasonably sealed container; place only clean, dry items inside; use the Wisedry Silica Gel Amount Guide for a starting amount; and select a packet arrangement that can stay protected and accessible until the next planned check.
A larger pack is not automatically better, and “long-term” does not mean “never inspect again.” The practical choice depends on inside volume, seal quality, the moisture carried in by the contents, the storage environment, packet format, and how easily you can check or recharge the desiccant later.
Why A Closed Container Needs A Different Plan
A container opened every day repeatedly exchanges air with the room. A container intended to stay closed for weeks or months has a different pattern: most of its moisture load is present when the lid closes, followed by any slow leakage through the lid, gasket, seams, or vents.
That makes preparation especially important. Once the box is on a shelf, a hidden damp item, a dirty gasket, or an undersized packet may go unnoticed until the next check. Long-term storage therefore favors a setup that is simple to inspect, clearly labeled, and easy to reopen without disturbing everything inside.
If your container is accessed frequently, use the separate guide to choosing desiccant for a container you open every day. Do not apply the same check interval to both situations without observing how each container behaves.
Step 1: Start With Dry Contents
Desiccant helps manage moisture in a limited enclosed space. It is not a shortcut for putting wet or damp items into storage.
Before packing:
- let washed items dry completely;
- wipe condensation or surface moisture from tools and containers;
- allow recently cleaned fabric, paper, craft material, or equipment cases to reach normal room conditions;
- remove leaking bottles, damp liners, and wet packing material;
- avoid sealing items immediately after they move from a cold area into warm humid air.
If an item already feels damp, dry it by the method appropriate for that item before closing the container. Do not rely on extra silica gel to correct an unknown moisture source.
Step 2: Inspect The Container Seal
A good starting amount cannot compensate indefinitely for a lid that does not close. Inspect the container before choosing packet size.
Check:
- The rim: remove dust, fibers, labels, and packing material that cross the sealing surface.
- The gasket: look for gaps, twists, hardened sections, or areas that have lifted from the channel.
- The latches: confirm every latch closes without the contents pushing the lid upward.
- The corners and seams: look for cracks, distortion, or holes.
- The lid fit: make sure the box is not overfilled and the top does not bow.
The airtight box checklist before adding silica gel gives a fuller pre-packing review. A household storage box does not need laboratory sealing, but it should close consistently enough that the desiccant is working on a limited volume rather than the whole room.
Step 3: Estimate The Inside Volume
Measure the usable inside length, width, and height rather than relying only on the product name printed on the box. If the container narrows toward the bottom or has thick inserts, a reasonable estimate is enough.
Use that volume with the Wisedry Amount Guide to establish a baseline. Then consider the real setup:
- Is the container tightly filled or mostly empty?
- Will it remain in a climate-controlled room, closet, garage, or basement?
- Does it have a gasket or only an overlapping lid?
- Are several smaller compartments separated from one another?
- How long will it stay closed before a planned check?
Treat the amount as a practical starting point, not a guarantee of a fixed storage period. Seal quality and the initial condition of the contents can matter as much as nominal container volume.
Step 4: Choose A Packet Arrangement You Can Maintain
For ordinary closed storage, intact packets or sachets are often easier to manage than loose beads. Packets can be counted, removed, checked, and recharged without mixing silica gel into the stored items.
One Larger Pack
One larger pack may be practical when:
- the container has one open interior space;
- there is a protected location where the pack can lie flat;
- you want one item to remove during a scheduled check;
- the pack does not need to be folded, compressed, or wedged into the lid.
Several Smaller Packs
Several smaller packets may be practical when:
- the box is long, deep, or divided into sections;
- stored items interrupt airflow between compartments;
- one large pack would be buried under the contents;
- you want visible packets near more than one access point.
The total amount still matters. Dividing the same amount among smaller packets changes placement and handling; it does not create extra capacity. Review one large desiccant pack versus several small packs if the container layout makes the choice unclear.
Step 5: Place Packets Where They Stay Protected
Long-term placement should survive the entire storage period without the packet being crushed, punctured, or forgotten.
Choose a location that is:
- away from sharp corners, tool edges, and moving hardware;
- outside lid channels, hinge paths, and latch areas;
- not directly beneath heavy objects;
- open enough for enclosed air to reach the packet surface;
- visible or easy to find when the box is reopened;
- separated from possible liquid leaks.
A shallow open tray, protected side space, or open divider can work if it does not isolate the packet from the main air volume. Do not seal the desiccant inside a second closed bag while expecting it to manage the larger container.
Use the guide to where not to place a desiccant pack in a storage box to avoid blocked airflow and pinch points.
Step 6: Decide How You Will Check Moisture Status
Before closing the lid, know what information your product actually provides. Some Wisedry packets have visible indicating beads or a viewing area; others require you to follow product-specific instructions and a planned inspection routine.
A color indicator is useful only when:
- you know the stated dry and recharge colors for that product;
- the indicator remains visible enough to inspect;
- lighting is good enough to read it accurately;
- you do not use color as a substitute for checking seams, placement, or container condition.
The guide to clear versus opaque desiccant packets explains what the packet surface can and cannot tell you. Follow the exact product instructions rather than borrowing a color meaning or recharge method from a different product.
Step 7: Recharge Before Storage When Needed
Begin long-term storage with desiccant that is ready according to its product instructions. If the indicator or current instructions show that a reusable packet needs recharging, complete that process before packing the container.
Use the Wisedry recharge guide hub to find the instructions for the specific product. After recharging, let the pack cool fully as directed before returning it to a closed box. Do not place a hot pack against plastic, paper, fabric, or other stored items.
Inspect the packet at the same time. Open seams, punctures, scorching, melted areas, or escaping material are reasons to remove the sachet from service. The guide on when to replace a damaged desiccant sachet covers visible physical damage without making a health or material-safety diagnosis.
Step 8: Label The Container Before Closing It
A simple exterior label prevents guesswork months later. Record:
- the date the container was packed;
- the date the desiccant was last recharged, if applicable;
- the number and size of packets inside;
- the packet location, such as “two side compartments”;
- the planned first check date;
- the relevant product instruction or recharge route.
Do not place the only record inside the sealed box. Keep it on the outside or in a separate storage log so you can decide whether a check is due without opening the container unnecessarily.
Step 9: Set A Realistic Inspection Schedule
No single calendar interval fits every container. A box in a stable indoor closet may behave differently from the same box in a seasonally humid storage area. The first inspection should be early enough to test your assumptions.
At the first check:
- inspect the lid, gasket, and latches before opening;
- note any visible condensation or unexpected odor without treating it as a diagnosis;
- inspect the packet indicator if the product has one;
- check packet seams and placement;
- confirm the contents were not pressing against the lid or packets;
- recharge or replace only according to the relevant instructions;
- update the exterior label before resealing.
If the desiccant reaches its recharge condition sooner than expected, first review the seal, packing condition, and storage environment. Simply adding more packets may hide the real cause without fixing it. The guide to storage containers that still feel damp with desiccant inside provides a step-by-step review.
Common Long-Term Storage Mistakes
Packing Slightly Damp Items
A closed box traps the moisture that enters with the contents. Dry the items first instead of asking the desiccant to handle an avoidable load.
Assuming “Sealed” Means Permanent
Household containers can leak slowly, and seals can change over time. Plan a check rather than promising a set-and-forget storage period.
Choosing By Packet Size Alone
Packet size is only one factor. Total amount, container volume, seal quality, placement, and maintenance all affect the setup.
Burying Every Packet
A packet hidden under a full box is difficult to inspect and may be compressed. Keep the location predictable and protected.
Mixing Product Instructions
Recharge temperature, time, indicator behavior, and cooling guidance can vary. Use the instructions for the exact Wisedry product you own.
Treating Desiccant As A Preservation Guarantee
Silica gel supports moisture management inside a closed container. It does not guarantee a preservation lifetime, repair existing damage, or replace item-specific storage guidance.
Frequently Asked Questions
Is one large packet better for long-term storage?
Not always. One larger pack is simple in an open interior, while several smaller packets may be easier to distribute in a divided or deep container. Start with the total amount, then choose the arrangement that remains protected and accessible.
Should I use more desiccant because the box will stay closed for months?
Do not choose a multiplier based on time alone. Begin with container volume and product guidance, then account for seal quality, initial moisture, environment, and what you learn at the first inspection.
Can I put a packet inside a sealed inner bag?
Only if that inner bag is the space you intend to manage. A packet sealed inside a separate bag cannot effectively manage the air in the larger outer container.
How often should I open the container to check it?
There is no universal interval. Set an initial check based on the contents, environment, seal confidence, and product instructions. Use that inspection to adjust the next interval.
What if the packet looks damaged when I reopen the box?
Remove it from service without squeezing or returning it to the container. Follow the product instructions and contact Wisedry Support if the correct next step is unclear.
Build A Closed-Storage Setup You Can Repeat
A reliable routine is straightforward: dry the contents, inspect the seal, estimate container volume, choose an intact packet arrangement, keep it protected, follow the correct recharge instructions, label the outside, and schedule a real inspection.
Next step: Use the Wisedry Amount Guide to set a starting amount, then shop Wisedry reusable desiccants for a packet format that fits your closed container and maintenance plan.