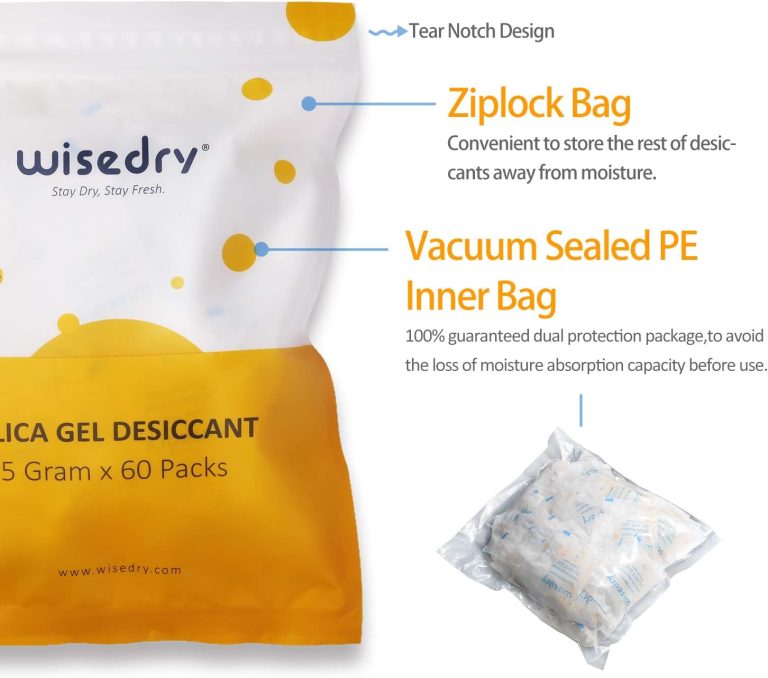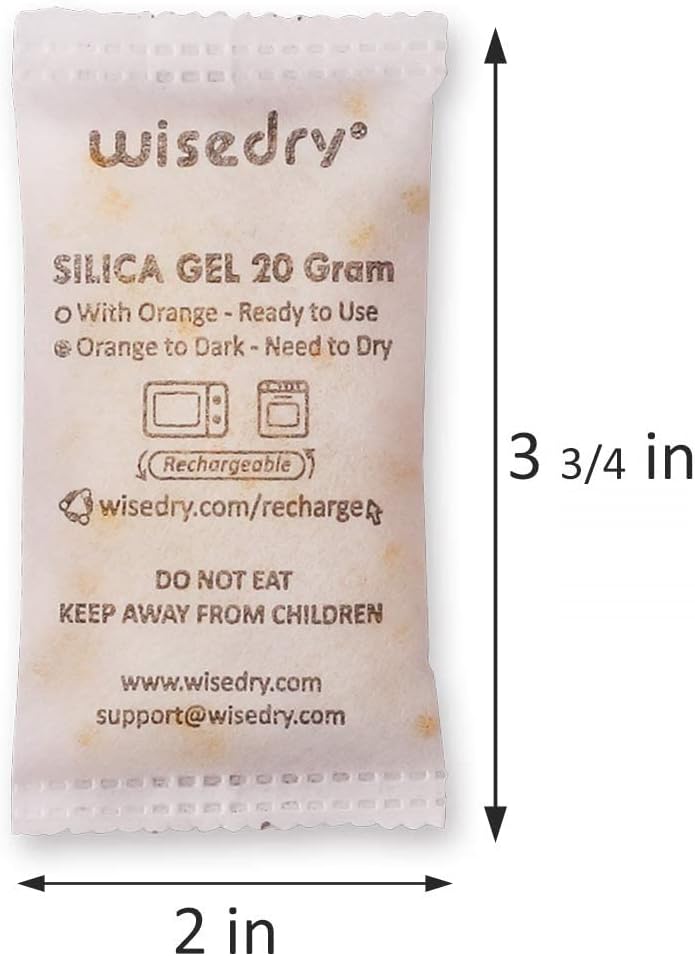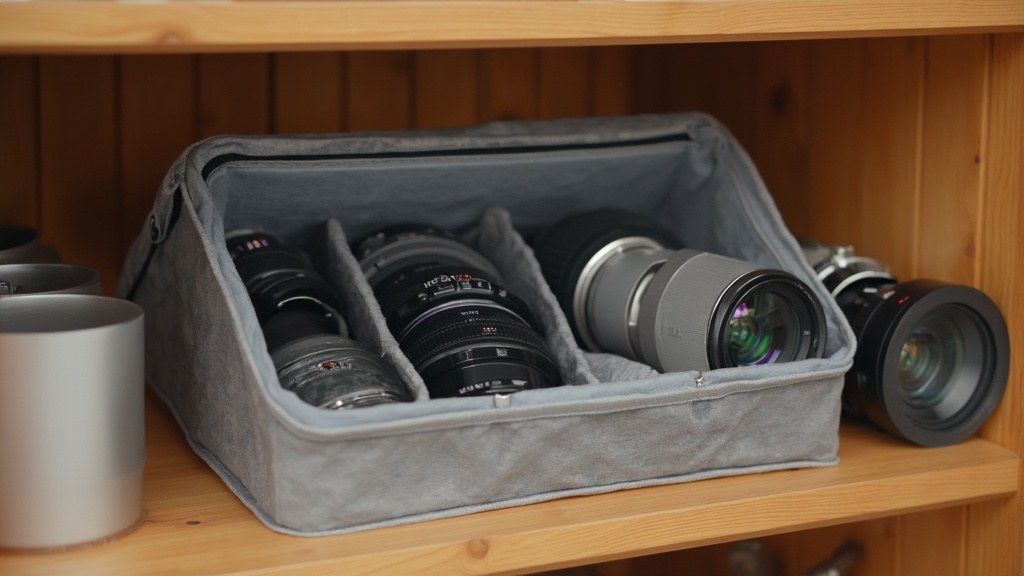
A camera dry box works best as a controlled storage space: the box is reasonably sealed, the gear goes in dry, and active desiccant manages moisture that enters with the air. The amount of silica gel matters, but there is no single packet count that fits every box.
A compact case holding one camera and one lens needs less than a large tote with several lenses. A box opened every day also places a heavier load on the desiccant than one opened once a month. Use the container volume as your starting point, then adjust from real indicator changes and check intervals.
Quick Answer
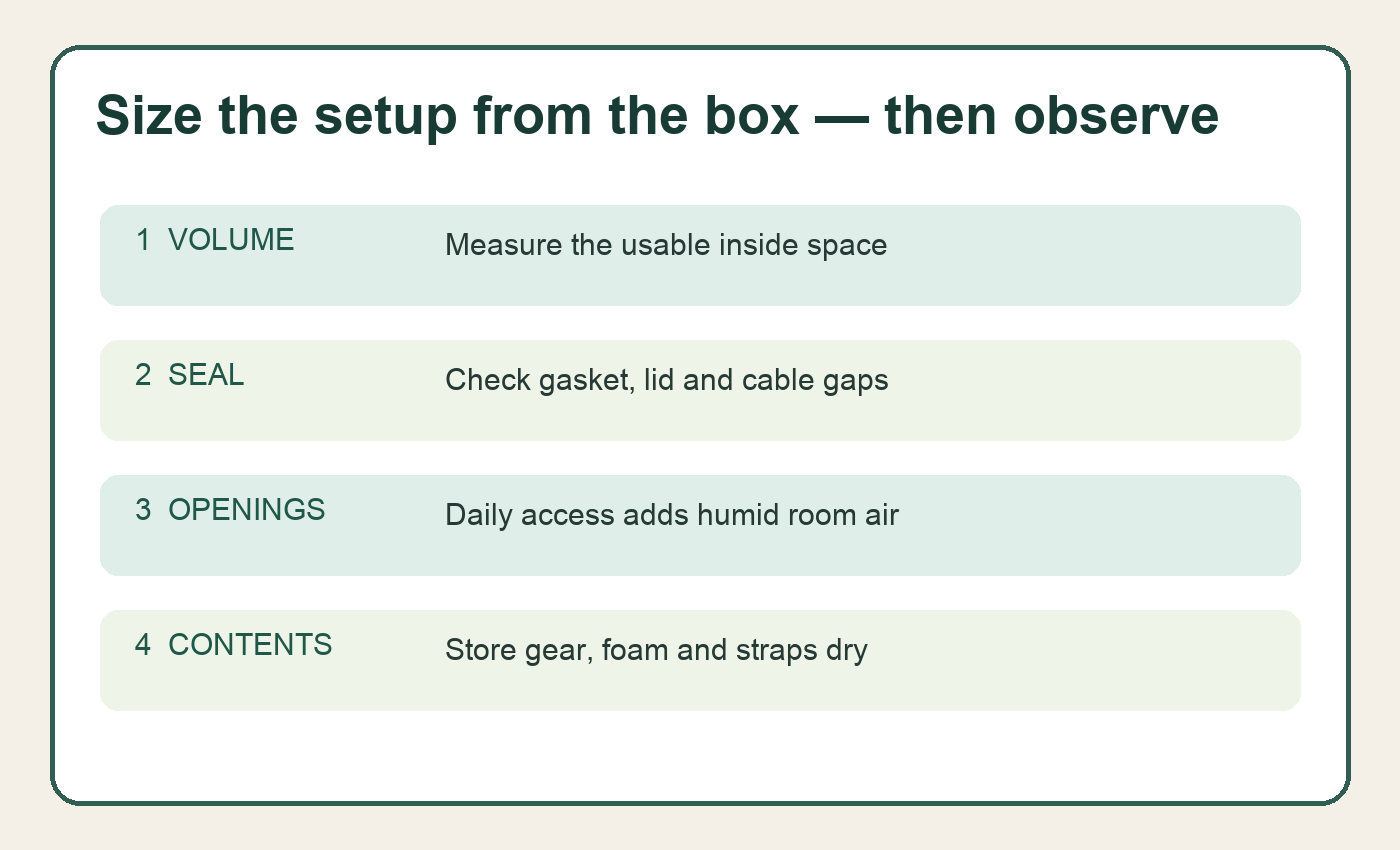
Start by measuring the inside dimensions of the camera dry box and use the Wisedry silica gel amount guide to choose an initial amount for that volume. Treat the result as a starting point rather than a guarantee.
Use more active silica gel, or check it more often, when the box has an imperfect seal, sits in a humid room, contains many fabric dividers, or is opened frequently. Place packets in open side compartments or corners where air can reach them, without pressing them against lens glass, screens, controls, or door seals.
Need a reusable setup? Shop Wisedry rechargeable desiccants.
Step 1: Measure The Usable Inside Volume
Use the dry box’s inside length, width, and height rather than its outside product dimensions. Multiply those measurements to estimate the enclosed volume. If the box has a thick lid, deep trays, or built-in compartments, the usable inside measurements are more relevant than the number printed on the packaging.
You do not need laboratory precision. A close estimate is enough to select a practical starting amount. For an irregular case, divide the interior into two simple rectangular sections, estimate each section, and add them together.
Keep these details with your measurement:
- How many cameras and lenses normally stay inside.
- Whether the box includes foam, fabric dividers, straps, or paper manuals.
- How often the lid is opened.
- Whether the box has a gasket or simple snap lid.
- Whether the room is usually air-conditioned, seasonal, or humid.
The amount guide provides the baseline. These operating details tell you how closely to monitor that baseline.
Step 2: Account For The Seal And Opening Routine
A good lid seal reduces how quickly humid room air replaces the drier air inside. A loose lid, damaged gasket, cable pass-through, or frequently opened door creates a larger ongoing moisture load.
A box opened only to swap equipment before a monthly trip may keep the same desiccant active longer than a box used for daily lens changes. That does not necessarily mean the daily-use box is unsuitable. It means the silica gel should be checked more often and may need more total capacity or a two-pack rotation.
Before adding extra packets, inspect the container:
- Close every latch fully.
- Check that the gasket sits flat and clean.
- Keep straps, labels, and packet edges out of the lid seam.
- Look for cracked corners or warped plastic.
- Avoid routing cables through the seal unless the box was designed for it.
If the container has a persistent leak, adding more silica gel may only shorten the time between recharges. Fixing or replacing the container is usually more effective than endlessly increasing the amount.
Step 3: Start With Dry Gear And Active Silica Gel
Silica gel in a storage box is not a repair method for wet camera equipment. If a camera, lens, strap, or case is visibly wet, follow the manufacturer’s care guidance and allow it to dry appropriately before closed storage. Do not place dripping or damp gear into a sealed box and expect extra packets to solve the problem.
The same principle applies to the desiccant. Start with silica gel that is active according to its indicator or product instructions. A saturated packet adds little useful reserve, no matter how many packets are in the box.
For Wisedry products, use the applicable recharge instructions and allow recharged packets to cool as directed before returning them to the storage box. For another brand, follow that product’s label rather than borrowing Wisedry heating times or temperatures.
Step 4: Spread Packets Without Touching Delicate Surfaces
Silica gel does not need to touch camera gear. It only needs to share the enclosed air space.
Useful locations include:
- An open side compartment beside the main camera area.
- A shallow tray at the bottom of a larger box.
- Separate corners when using more than one packet.
- A breathable holder fixed to an inside wall.
- An accessory section that shares air with the main compartment.
Avoid placing packets:
- Directly on front or rear lens elements.
- Against screens, sensors, viewfinders, or exposed contacts.
- Where they can press controls or scratch finishes.
- Under heavy gear where the sachet can be crushed.
- Across a gasket, latch, hinge, or door seal.
- Inside a separate sealed pouch that isolates it from the main box.
Spreading two smaller packets can improve access and make checks easier in a divided box. One larger packet may be simpler in an open, compact box. The total active amount and shared airflow matter more than arranging packets symmetrically.
Step 5: Use Indicator Changes To Adjust The Starting Amount
A starting calculation becomes useful only when you check what happens in your actual setup. Record the date you place active silica gel in the box and inspect it at a consistent interval.
If the indicator reaches its recharge condition very quickly, check the likely causes before simply adding more:
- Was the silica gel fully active at the start?
- Did damp straps, foam, or cases go into the box?
- Is the lid or door sealing correctly?
- Was the box opened repeatedly during humid weather?
- Is the container much larger than the amount used?
- Are packets buried where airflow is restricted?
After correcting those issues, increase the amount or shorten the check interval if needed. If the indicator changes slowly and consistently, your starting setup may already be adequate for routine storage.
An inexpensive humidity monitor can show trends, but it should not be treated as a precision instrument unless it has been checked and used according to its instructions. Silica gel also cannot guarantee a particular relative-humidity number in every box.
Example Camera Dry Box Setups
Compact Box For One Camera And One Lens
Measure the inside volume, use the amount guide for the starting quantity, and place a packet in an open side space. Keep it clear of the lens glass and camera controls. Check after the first few storage cycles so you learn how quickly the indicator changes.
Medium Box With Several Lenses
Use the full interior volume, including the air around dividers. Distribute packets in two accessible areas rather than stacking them under one lens. Fabric dividers and frequent lens changes can bring additional moisture into the box, so use a shorter initial check interval.
Large Tote Used After Outdoor Shoots
A larger container and regular openings create a greater moisture load. Start from the measured volume, keep packets in separate open zones, and make sure rain covers, straps, and soft cases are dry before storage. If silica gel reaches its recharge condition quickly, inspect the seal and the condition of everything entering the tote.
Cabinet-Style Dry Box
Some powered dry cabinets use their own humidity-control system. Follow the cabinet manufacturer’s instructions first. Do not block vents or sensors with silica gel packets, and do not assume adding packets will repair a cabinet that is not operating correctly. This guide is primarily for passive sealed boxes and cases.
Common Sizing Mistakes
Choosing By Camera Count Alone
Two boxes holding the same number of cameras can have very different volumes and seals. Measure the container rather than assuming one packet per camera.
Ignoring Fabric And Foam
Straps, foam inserts, and fabric dividers can carry moisture into the box. Store them dry and watch the indicator during the first few cycles.
Adding More Without Checking The Seal
A leak keeps introducing room air. More silica gel may delay saturation, but it does not correct a damaged gasket or warped lid.
Hiding Every Packet Under Gear
Buried packets are hard to inspect and may be crushed. Give them an accessible place with shared airflow.
Treating Desiccant As Equipment Repair
Silica gel can support routine dry storage. It does not remove existing lens fungus, reverse corrosion, restore wet electronics, or guarantee warranty outcomes.
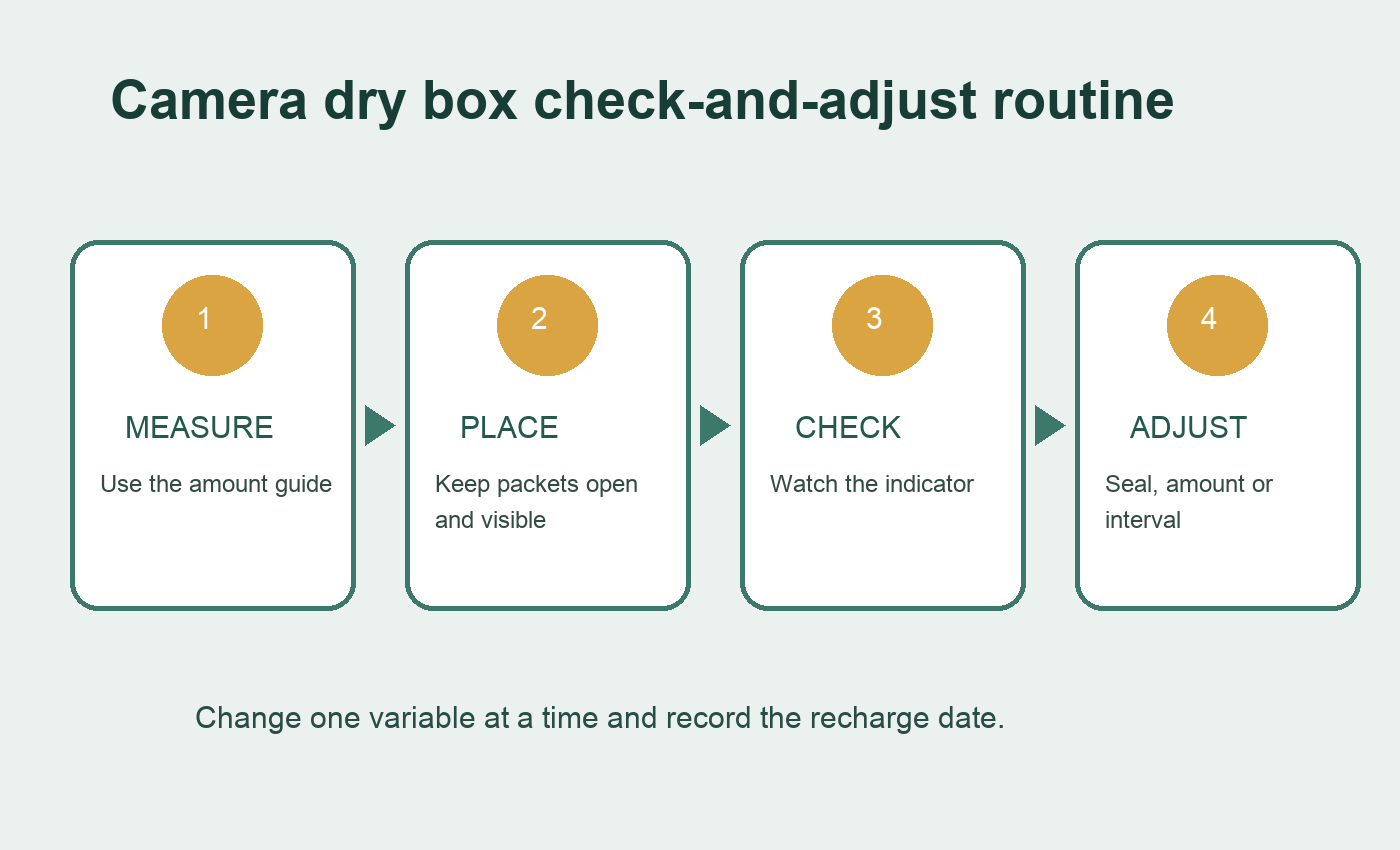
A Simple Check And Rotation Routine
A repeatable routine is more useful than guessing a large amount once:
- Measure the box and choose the initial amount from the amount guide.
- Recharge or replace the silica gel according to its instructions.
- Put only dry gear and accessories into the box.
- Place packets where they are visible and uncrushed.
- Label the start or recharge date.
- Check the indicator after a short initial interval.
- Record how long it remains active under normal use.
- Adjust the amount, placement, or interval one variable at a time.
For frequently used storage, consider keeping a second active set in a sealed reserve container. When the in-use set reaches its recharge condition, swap sets and recharge the saturated one. This reduces the temptation to return warm or incompletely recharged packets to the box.
FAQ
Is one silica gel packet enough for a camera dry box?
It depends on the packet size, box volume, seal quality, room humidity, and opening frequency. Measure the box and use the amount guide rather than relying on packet count alone.
Can I use several small packets instead of one large packet?
Yes, if their combined active amount suits the container. Several packets can be easier to distribute around dividers, while one larger packet can be simpler in an open box. Keep every packet accessible and protected from crushing.
Should silica gel touch the camera or lens?
No. Direct contact is unnecessary. Place packets in the same enclosed air space with separation from glass, screens, controls, finishes, and electrical contacts.
How often should I recharge silica gel in a camera dry box?
Use the packet’s indicator and product instructions rather than a universal calendar schedule. Check more often when the box is opened frequently, the room is humid, or damp accessories may have entered the box.
Can silica gel remove lens fungus or repair moisture damage?
No. This article covers storage moisture management only. Existing fungus, corrosion, or wet equipment requires the camera or lens manufacturer’s guidance or a qualified service provider.
Where should I put a humidity monitor?
Place it where the display is readable and airflow is representative of the main storage area. Do not press it against a silica gel packet or block a cabinet vent. Treat low-cost readings as trends unless the device has been checked for accuracy.
Final Takeaway
The right amount of silica gel for a camera dry box starts with container volume, then changes with the seal, opening frequency, room conditions, and moisture carried in by gear and dividers. Use the Wisedry amount guide for the baseline, place active packets where air can reach them, and adjust from real indicator behavior.
Good storage practice combines four things: dry gear, a reasonably sealed box, enough active desiccant, and a consistent checking routine. It does not depend on a magic packet count or a guaranteed humidity number.
Start with the Wisedry silica gel amount guide, review the recharge guide, shop rechargeable desiccants, or contact Wisedry Support if you need product-specific help.