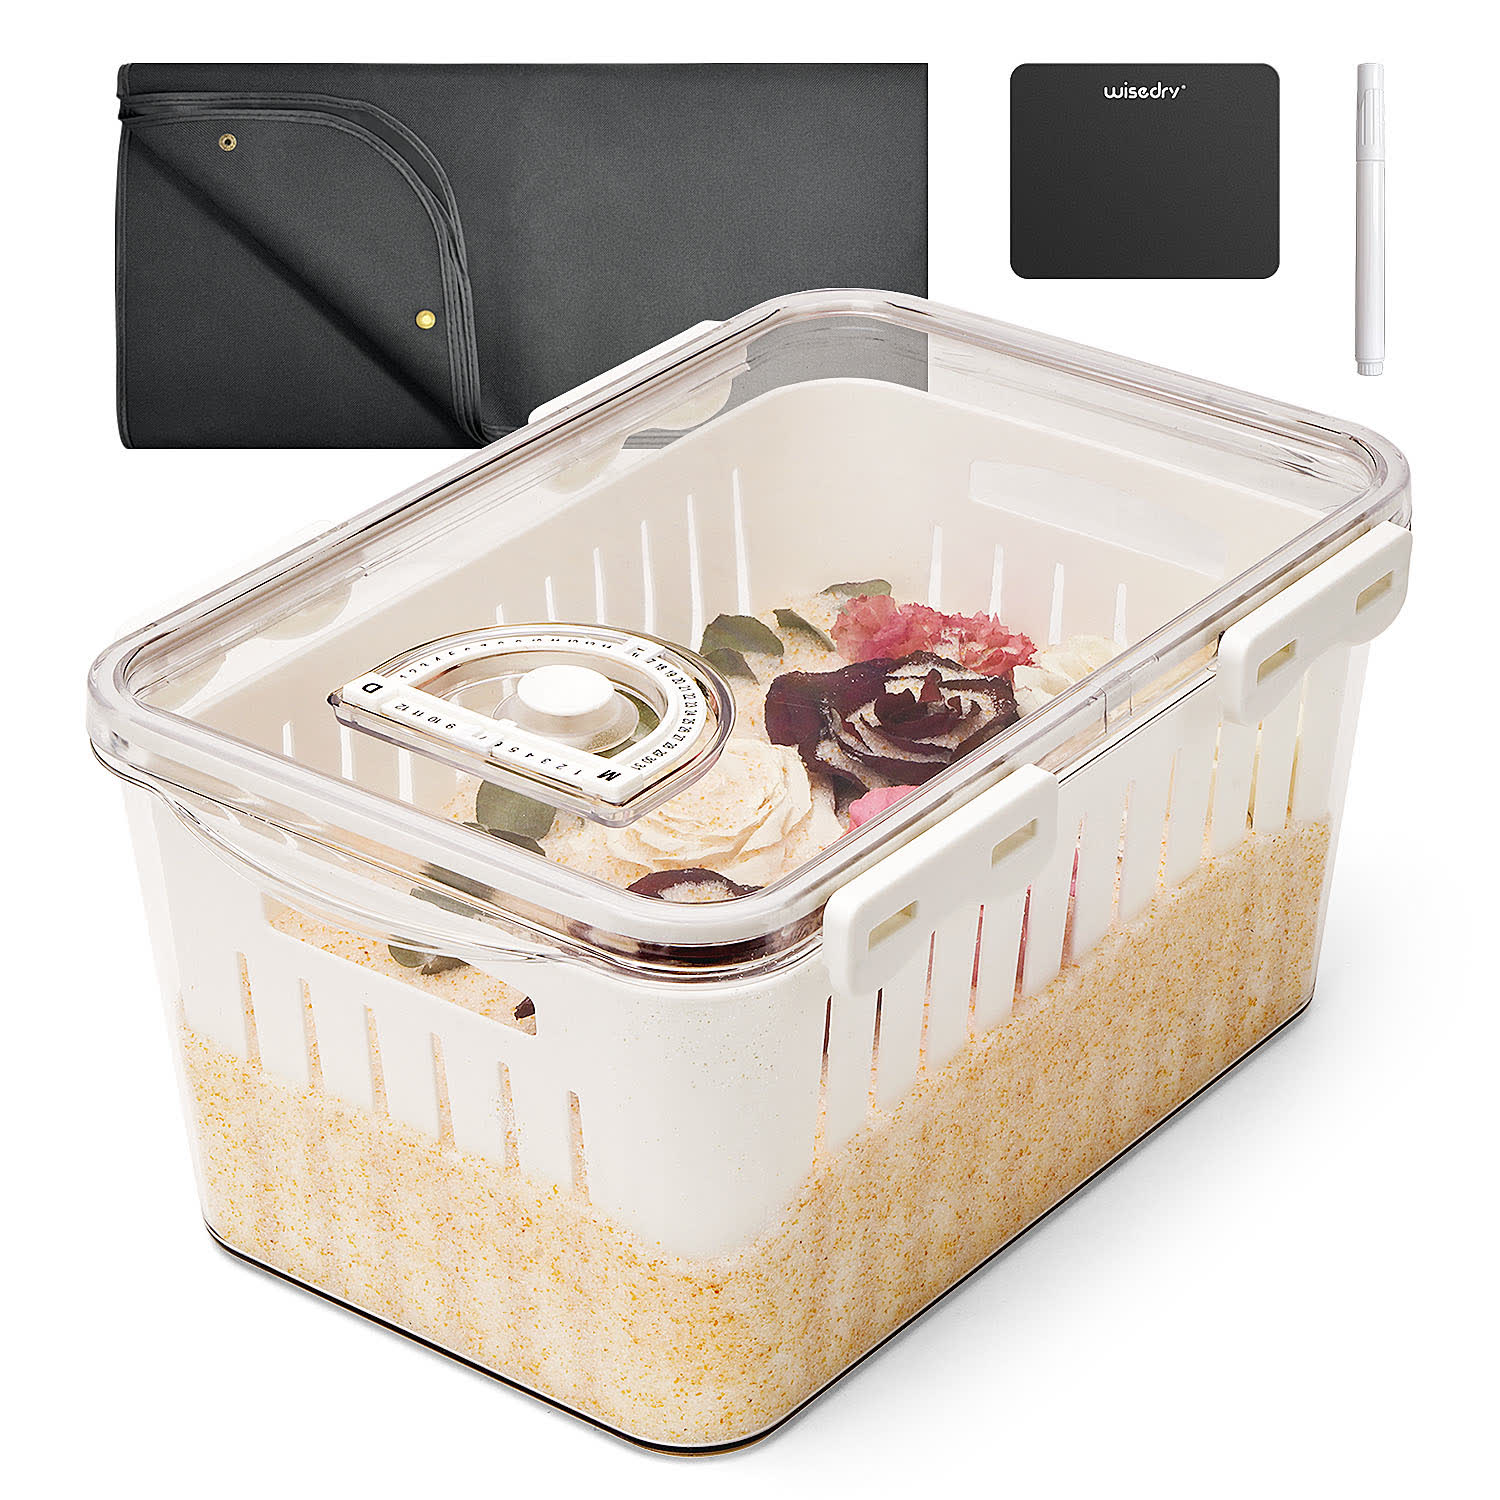
Silica gel can support a flower while moisture leaves the petals, but the material only works gently when the setup is handled gently. Most avoidable petal damage does not come from one dramatic error. It comes from small pressures: placing a bloom on an uneven base, pouring crystals directly onto an unsupported petal, pressing the lid down, checking too aggressively, or pulling the flower out before the surrounding silica gel has been cleared.
Quick answer: build a level base, lower the flower into position without forcing it, add silica gel slowly around and between the petals, close the container without touching the bloom, and remove the crystals before lifting the dried flower. Stop whenever a petal bends, the flower shifts, or the lid needs pressure to close.
The goal is not to make every flower look identical. Different flower shapes respond differently, and fresh condition matters. This guide focuses on handling habits that reduce unnecessary pressure throughout the process.
Mistake 1: Starting With A Thin Or Uneven Base
A flower placed directly on the hard bottom of a container has little support underneath. An uneven bed can also tilt the bloom before you begin covering it, causing one petal edge to carry more weight than the others.
Start with an even layer of flower drying silica gel that supports the bloom at the intended angle. Smooth the surface with a scoop rather than pressing it firmly. The layer should be deep enough to cradle the base of the flower without allowing the petals to rest against the container floor.
For a closer setup walkthrough, see How Deep Should The Silica Gel Base Layer Be For Drying Flowers?.
Mistake 2: Forcing The Flower Into Position
Pushing a flower down into the crystal bed can fold outer petals, flatten the underside, or shift the center away from its natural shape. Twisting the stem after the bloom is partly buried can create the same problem because the surrounding silica gel resists the movement.
Instead, make a shallow cradle in the base layer and lower the flower into it. Adjust the angle while the bloom is still lightly supported and easy to move. If the flower will not sit as intended, lift it, reshape the base layer, and try again. Do not solve a balance problem by pressing harder.
Check that:
- The flower sits steadily without your hand holding it in place.
- Outer petals are not trapped beneath the bloom.
- The stem is not levering the flower against the side of the container.
- There is enough space around the bloom for a scoop or controlled side pour.
Mistake 3: Pouring A Heavy Stream Onto The Petal Center
A fast stream can move or fold petals before the crystals have built support around them. Pouring from too high increases the impact. Starting at the top of the flower can also push petals downward instead of holding their natural spacing.
Add silica gel from the side and work upward in small stages. Let crystals fill the spaces around the base first. As the level rises, guide a small amount into open areas between petals without forcing the layers apart.
Use a scoop, cup, or controlled hand pour. Keep the pouring point close to the crystal surface, not high above the bloom. If a petal begins to move, stop and support the surrounding area before adding more.
The step-by-step method is covered in How To Pour Silica Gel Around Flower Petals Without Crushing Them.
Mistake 4: Leaving Petal Edges Unsupported
Covering the center while leaving outer edges suspended can create pressure points. Later additions of silica gel may push those unsupported edges down or inward. Curved and layered flowers need support to build gradually around the shape.
Work around the bloom rather than completing one side at a time. Add a shallow layer to the front, move to the side, then continue around the flower. Allow the crystal level to rise evenly. The silica gel should surround the shape instead of forming a steep wall that can slide across it.
For open flowers, watch the widest outer petals. For layered blooms, check the gaps where one petal overlaps another. Do not pry petals apart to insert crystals; use only naturally open paths.
Mistake 5: Packing Or Pressing The Silica Gel
Silica gel needs to contact the flower, but it does not need to be tamped down. Pressing with a scoop or hand can transfer force directly to hidden petals. Shaking or tapping the container to “settle” the crystals can also make the flower shift after its shape has been supported.
Let the small crystals flow into spaces naturally. A light addition from different directions is safer than compression. If a visible gap remains, add a small amount near the gap and allow gravity to move it into place.
Once the flower is covered, stop manipulating the crystal bed. More movement does not necessarily create a better setup.
Mistake 6: Choosing A Container That Is Too Shallow
A lid that touches the silica gel mound—or the bloom itself—can press the flower when closed. This is easy to miss because the pressure occurs after the petals are hidden.
Before covering the flower completely, compare its height with the container. Leave enough room for the final silica gel layer and for the lid to close without resistance. If the lid must be pushed, clipped with force, or bowed into place, move the setup to a deeper container.
Use the lid as a closure, not as a compacting tool. How To Close A Flower Drying Container Without Pressing The Bloom explains the final clearance check.
Mistake 7: Moving The Container After The Flower Is Buried
Tilting, carrying, or repeatedly repositioning the container can cause the whole crystal bed to slide. The flower may be supported from above and below, but a sideways shift can still bend petals or change their spacing.
Choose the drying location before opening the silica gel. Work on a level surface near that location. After closing the container, carry it with both hands and keep it level. Put it down once and avoid stacking heavy items on top.
If the container must be moved, move it slowly and keep the base horizontal. Do not shake it to check whether the contents are settled.
Mistake 8: Opening The Container For Frequent Checks
Repeated checks disturb the setup and expose the silica gel to room air. Digging down to find a hidden flower can scrape or bend petals, especially if the bloom is not ready to be handled.
Record the start date on the container and use the current Wisedry instructions as your reference. Drying time varies with flower size, density, initial moisture, room conditions, and how the bloom was prepared. A fixed schedule cannot describe every flower.
When you do check, uncover only enough of the flower to inspect a suitable area. Use a scoop to move crystals away; do not probe with fingers or pull the stem upward. If the flower still feels flexible or the setup needs more time, restore the support gently and close the container again.
Mistake 9: Pulling The Flower Out Through Packed Crystals
A dried flower may look firm while still being brittle. Pulling by the stem while petals remain buried transfers resistance to the flower. A petal caught under a layer of crystals can crease or detach before the bloom is free.
Move the silica gel away first. Scoop shallow layers from the top and sides, clear the outline, and leave support underneath until the bloom can move without resistance. Then support the stem or underside and lift over a clean tray.
Follow How To Remove Silica Gel From Delicate Flower Petals for the complete uncovering and soft-brush routine.
Mistake 10: Using Strong Airflow, Water, Or Rough Tools
A hair dryer, compressed-air can, stiff brush, wet wipe, or rinse may seem faster than careful cleanup, but each introduces a new source of force or moisture. Strong airflow can fold petals. A stiff brush can scratch or crack them. Water can soften the dried structure and change the shape.
Use dry tools: a small scoop for bulk crystals and a soft artist brush for visible grains. A hand air blower is optional and should be used only from a distance with a very gentle puff. If a grain is trapped deep inside a bloom, do not damage the flower trying to remove every speck.
A Safer Start-To-Finish Routine
Use this short sequence as a preflight check:
- Select a clean, dry container with enough depth for the bloom and the covering layer.
- Build a level silica gel base that supports the flower without packing it.
- Lower the bloom into a shallow cradle and adjust it before covering begins.
- Add crystals from the sides in small stages, supporting petal edges as the level rises.
- Stop if the flower moves, a petal bends, or a heavy stream forms.
- Confirm lid clearance and close the container without pressing the contents.
- Label the start date and keep the container level in a dry location.
- Check conservatively, using a scoop rather than fingers to uncover the flower.
- At removal, clear the silica gel first and lift only when the bloom moves freely.
- Clean remaining grains with a soft, dry brush over a tray.
This routine cannot guarantee a particular result, but it removes common sources of avoidable handling pressure.
FAQ
Should I press silica gel around flower petals?
No. Add the crystals gradually and let them flow around the bloom. Pressing or tamping can transfer force to petals that are already hidden. Build support evenly instead of compacting the material.
Can I shake the container to settle the silica gel?
Avoid shaking or tapping. The crystal bed can shift sideways and move the flower after it has been positioned. Add smaller amounts from different directions and allow gravity to fill open spaces.
What if the flower floats or moves while I pour?
Stop pouring. Clear enough silica gel to see the base, then improve the cradle and support around the bloom. Continue only when the flower sits steadily without being held down.
How do I know whether the lid is touching the flower?
Check the flower height and final silica gel level before fully covering the bloom. The lid should close normally without bowing, pressing, or requiring extra force. If clearance is uncertain, use a deeper container.
Is every cracked petal caused by the silica gel?
Not necessarily. Flower condition, handling before drying, bloom structure, and dryness can all affect fragility. The steps here focus on reducing avoidable pressure during placement, covering, checking, and removal rather than diagnosing every cause.
Next Step
For a broader planning and handling reference, get the Wisedry Flower Drying eBook. You can also review the Wisedry flower drying crystal instructions or visit Wisedry Support for a product-specific question.