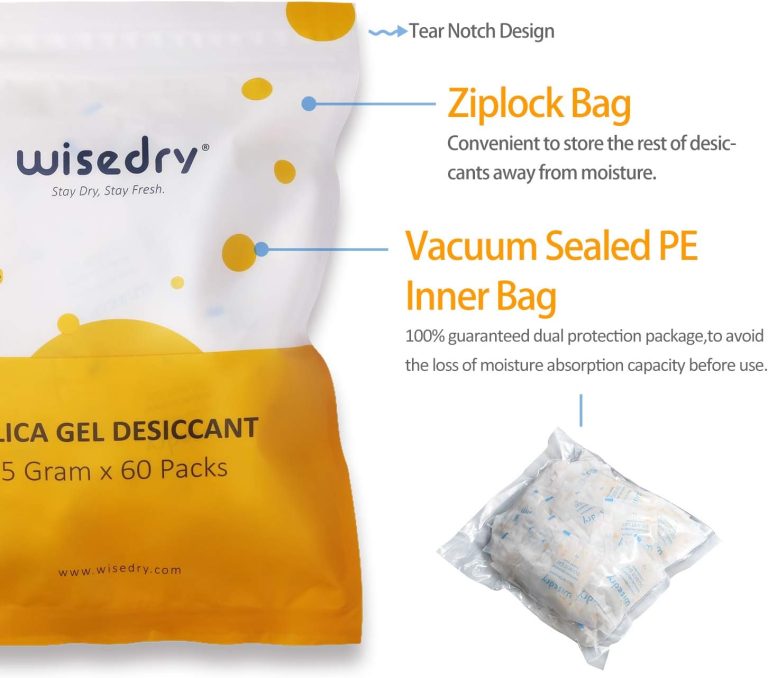
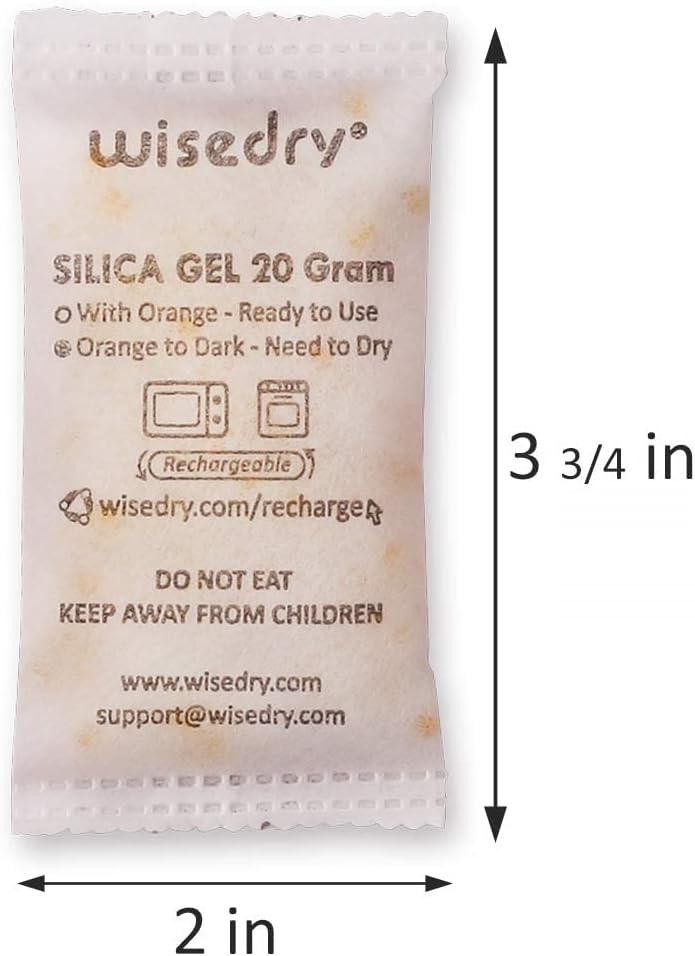
Rotating rechargeable desiccant packs is easier when every packet has one clear status: ready, in use, or needs recharge. Instead of moving packets at random, keep a sealed reserve, label the packets already working in each container, and exchange them on a simple check schedule.
Quick answer: Assign each storage container a pack or pack set, label it with the container name and last recharge date, and keep one fully recharged spare sealed separately. When an in-use indicator reaches its specified recharge condition, swap in the ready spare, recharge the used pack according to its instructions, let it cool completely, and return it to the sealed reserve. This keeps containers covered without mixing ready and saturated packets.
A rotation system does not remove the need for dry contents and a well-closing container. It simply makes packet condition, location, and recharge timing visible.
Why A Rotation System Helps
With one box, it is easy to remember where a packet came from. With several craft bins, equipment cases, seasonal totes, or small parts containers, packets can quickly become anonymous. A packet may sit on a shelf after use, move to another box without being checked, or return warm from recharging.
A defined rotation reduces those mistakes by answering four questions:
- Which container is this pack assigned to?
- Is the pack ready, in use, or waiting for recharge?
- When was it last recharged?
- Where is the fully ready spare?
The goal is not to predict an exact service life. Humidity, seal quality, container volume, stored materials, and opening frequency all change how quickly a packet reaches its recharge condition. The rotation should follow the packet indicator and real container conditions, not a universal number of days.
Start With Three Status Zones
Create three physical zones on a shelf, in a cabinet, or inside separate sealed bags.
1. Ready
This zone holds packs that have been recharged according to their instructions, cooled completely, inspected, and sealed away from room air. A lidded airtight container or sealed bag keeps the reserve from adsorbing humidity while it waits.
Mark the zone clearly. Do not place recently heated packs here until they have cooled to room temperature.
2. In Use
These packs belong inside closed storage containers. Each pack or pack set should have a matching container label so it can return to the correct place after checking.
Place packs where air can reach them and where they remain easy to inspect. Do not bury them under fabric, paper, or tightly packed objects. The guide to where not to place a desiccant pack in a storage box covers common blocked-airflow and compression mistakes.
3. Needs Recharge
This zone holds packs whose indicator has reached the product’s specified recharge condition. Keep it separate from ready stock. A bright label or an open-sided tray prevents someone from returning an unready pack to a container by mistake.
Do not use a sealed ready-storage container for this zone unless the packs are already recharged and fully cooled. The point is status separation, not merely putting everything in one bin.
Give Every Container A Simple ID
Use short, practical names such as:
- CRAFT-1
- CAMERA-CASE
- SEASONAL-A
- PARTS-BLUE
- DOCUMENT-BOX
Put the same ID on the container and its assigned packet tag. If a large container uses two or more packs, write the set count as well: SEASONAL-A — 2 packs.
Avoid labels that rely only on packet size. Two containers may use the same size but have very different opening routines. The container ID is what keeps observations meaningful.
A piece of removable tape or a small paper tag is enough. Keep writing away from packet seams and indicator windows, and never puncture the sachet to attach a label.
Record Only The Information You Will Use
A useful rotation label needs four fields:
- container ID;
- packet size and quantity;
- last recharge date;
- next check date or check trigger.
For example:
CRAFT-1 | 2 × 20 g | recharged Sep 6 | check Sep 13
The next check date is a reminder, not a claim that the pack will be saturated on that day. If the container opens during humid weather, receives new materials, or shows a faster indicator change, inspect sooner.
If you manage many boxes, the simple desiccant rotation log provides a compact paper or spreadsheet format. For one or two boxes, a label on the lid may be enough.
Build The First Rotation In Seven Steps
Step 1: Inspect Every Container
Remove damp items, wipe and dry the interior, and check the lid, rim, latches, and gasket. A rotation cannot compensate for a wet object or a lid gap. Use the container seal check before assigning packs.
Step 2: Choose A Starting Amount
Match the starting pack amount to the container volume and real moisture load. Consider seal quality, stored materials, room humidity, and opening frequency. The Wisedry Amount Guide gives a starting framework; adjust from observed indicator behavior rather than adding packets blindly.
Step 3: Recharge The Working Set
Follow the instructions for the exact packet size and heating method. Do not copy a time or temperature from another product. The Wisedry recharge guide covers medium reusable sachets.
After recharging, let each pack cool completely on a clean, heat-safe surface. Inspect the fabric and seams before reuse. A torn or leaking sachet should not re-enter the rotation.
Step 4: Label Packs And Containers
Apply matching IDs and write the recharge date. If several packs work as a set, keep the set together and mark the quantity.
Step 5: Install Packs With Open Airflow
Place each pack in visible, open airspace, away from hinges, latches, sharp tools, heavy objects, and surfaces where it can be crushed. Do not let it hold a lid open.
Step 6: Seal The Ready Spare
Once the spare is fully cooled and ready, put it in the labeled ready zone inside a genuinely closed container or sealed bag. Leaving a ready spare exposed on a shelf makes it work on room air before you need it.
Step 7: Set The First Check
Check new setups sooner than established ones. Look at the packet indicator, lid condition, stored contents, and label. After several cycles, use the observed interval to set a practical routine for each container.
The Correct Swap Sequence
When an in-use pack reaches its recharge condition, use this order:
- Take a fully ready spare from sealed reserve.
- Open the target container and inspect for damp contents or lid issues.
- Remove the used pack and move it immediately to the needs-recharge zone.
- Update the container log with the removal date and any observation.
- Place the ready pack in the same open-air position.
- Close the container and confirm nothing crosses the seal.
- Recharge the removed pack according to its instructions.
- Cool and inspect it completely.
- Update its recharge date and return it to sealed ready reserve.
This sequence prevents a coverage gap. It also stops a recently used pack from being mistaken for a ready one.
Do Not Rotate Problems From One Box To Another
A packet from a box with damp contents or an uncertain spill should not move directly into another container. First isolate the pack, inspect it, and follow the applicable product instructions. Clean and dry the original box and contents before restarting.
Likewise, do not use rotation to hide a container problem. If one box repeatedly changes the indicator much faster than the others, compare:
- lid and gasket condition;
- how often the box opens;
- whether new materials enter damp;
- whether the pack is blocked;
- starting amount and container volume;
- storage location and surrounding humidity.
The article on why a storage container still feels damp with desiccant inside gives a full reset sequence. Investigate the outlier instead of sending more packs through it.
A Practical Schedule For Different Containers
Use triggers rather than one calendar interval for every box.
Frequently opened boxes
Tie the check to normal use: after restocking, after a humid work session, or on a weekly organization day. Keep the spare nearby but sealed.
Seasonal containers
Check when packing, once after the setup has stabilized, and again when reopening. If the container is moved to a more humid location, add an earlier check.
Equipment and parts cases
Inspect after the case returns from outdoor or humid conditions. Make sure every stored item is dry before closing the case. Position the pack where tools or gear cannot crush it.
Craft and paper storage
Check after adding paper, fabric, wood, or other materials that may carry room humidity. Keep packets visible instead of burying them beneath supplies.
Common Rotation Mistakes
Keeping ready and used packs in the same bag
Without separate status zones, a saturated pack can return to service by mistake. Use labels and physical separation.
Leaving the ready spare exposed
A spare on an open shelf begins adsorbing room humidity. Seal it only after it is fully cooled and ready.
Rotating on a fixed date without checking the indicator
A date supports memory; it does not replace the product indicator or a container inspection. Conditions can change between cycles.
Moving one pack among several boxes
A single roaming pack creates long uncovered periods and makes it hard to identify which container causes rapid saturation. Assign working packs and use a separate ready spare.
Adding more packs instead of fixing the seal
More capacity will not permanently correct a warped lid, blocked latch, or damp contents. Fix the source first.
Reinstalling a warm pack
Let a recharged pack cool completely before sealing it into storage. Follow the exact product instructions and keep recently heated packs out of the ready zone until cool.
FAQ
How many spare desiccant packs do I need for a rotation?
One ready spare or one ready spare set can support several containers if checks are staggered and the spare size matches the container being swapped. If multiple containers often need service at once, keep additional sealed ready stock. Use observed demand rather than a universal count.
Can I move the same pack between different container sizes?
You can reassign a ready, inspected pack, but update the label and confirm the amount suits the new container. Do not assume a pack selected for a small case is sufficient for a larger tote.
Should every container use the same check date?
Not necessarily. A shared organization day is convenient, but frequently opened or poorly sealed containers may need earlier checks. Each label should reflect actual conditions.
Where should I store recharged spare packs?
After they cool completely, store them in a labeled airtight container or sealed bag away from room humidity. Keep ready stock separate from packs awaiting recharge.
What if one container saturates packs much faster?
Inspect the contents, lid, gasket, opening frequency, placement, and starting amount. Reset that container before increasing the number of packs or shortening every other container’s schedule.
When should a pack leave the rotation permanently?
Remove a sachet if it is torn, leaking, badly damaged, or no longer behaves as described after the correct recharge process. Follow product guidance and contact Wisedry Support when the condition is unclear.
Next Steps
Start with three labeled zones—ready, in use, and needs recharge—then assign each container and packet set a matching ID. Keep the reserve sealed, swap before recharging the used set, and let indicator behavior guide future checks. Use the Amount Guide for starting quantity, review the recharge instructions for your packet size, or shop Wisedry reusable silica gel packets when you need enough packs to maintain a ready reserve.