A silica gel packet can only manage the moisture load inside its container. If a storage box still feels damp, the usual cause is not that desiccant “does nothing.” More often, wet contents entered the box, humid air keeps leaking through the lid, the packet is already saturated, airflow around it is blocked, or the amount is too small for the actual container and opening routine.
Quick answer: Empty the container, confirm every item is dry, inspect and clean the lid edge, check the packet indicator, recharge or replace the packet as directed, and return it to an open-air position. Then close the box for a short test period before adding more desiccant. This sequence finds the source instead of hiding it with extra packets.
This guide applies to small, enclosed storage containers. It is not a diagnosis or remedy for damp walls, leaks, condensation in a room, flooding, or mold. Those conditions need their source corrected before a storage box can stay dry.
First, Define What “Feels Damp” Means
A vague damp feeling can come from several different signals. Before changing anything, identify what you actually notice:
- condensation droplets on the inside of the lid;
- fabric, paper, or cardboard that feels cool and clammy;
- a silica gel indicator that reaches its recharge condition quickly;
- a musty odor when the lid opens;
- moisture around one corner or directly beneath one stored item;
- a humidity card or meter that stays higher than expected.
Do not use odor alone as proof of current moisture. An item can carry an old smell even after it has dried, while a box with no odor can still contain damp cardboard. Look for visible moisture, packet condition, and a repeatable reading when available.
1. Remove Any Item That Entered The Box Damp
Desiccant is designed to adsorb water vapor from enclosed air. It is not a shortcut for drying wet fabric, freshly washed containers, damp cardboard, or gear put away before it aired out.
Take everything out and check items one by one:
- Feel folds, seams, foam padding, and the underside of soft goods.
- Inspect cardboard edges and paper stacks, where moisture can remain unnoticed.
- Check bottles and containers for loose caps or residue.
- Let cleaned plastic boxes air-dry completely, especially around handles and lid channels.
- Keep any visibly wet or questionable item outside the box until it is fully dry.
One damp object can use a small packet’s capacity quickly. Adding more packets while that object remains inside only delays saturation.
2. Check The Lid, Rim, Latches, And Gasket
A container does not have to be laboratory-airtight, but its lid must close evenly. A gap creates continuous air exchange with the room, so the desiccant repeatedly handles new humidity instead of stabilizing one enclosed volume.
Run a simple seal check:
- Wipe dust, fibers, labels, and packing debris from the rim.
- Look for a warped corner, cracked latch, compressed gasket, or hinge that holds one side open.
- Make sure no packet, strap, fabric edge, or cable crosses the lid seam.
- Close every latch and press around the perimeter; the lid should not rock or spring up.
- Confirm the box is not overfilled, forcing the center of the lid upward.
The guide to checking a container seal without special tools gives a fuller step-by-step inspection. If the box cannot close consistently, fix or change the container before increasing the desiccant amount.
3. Confirm The Packet Is Ready, Not Saturated
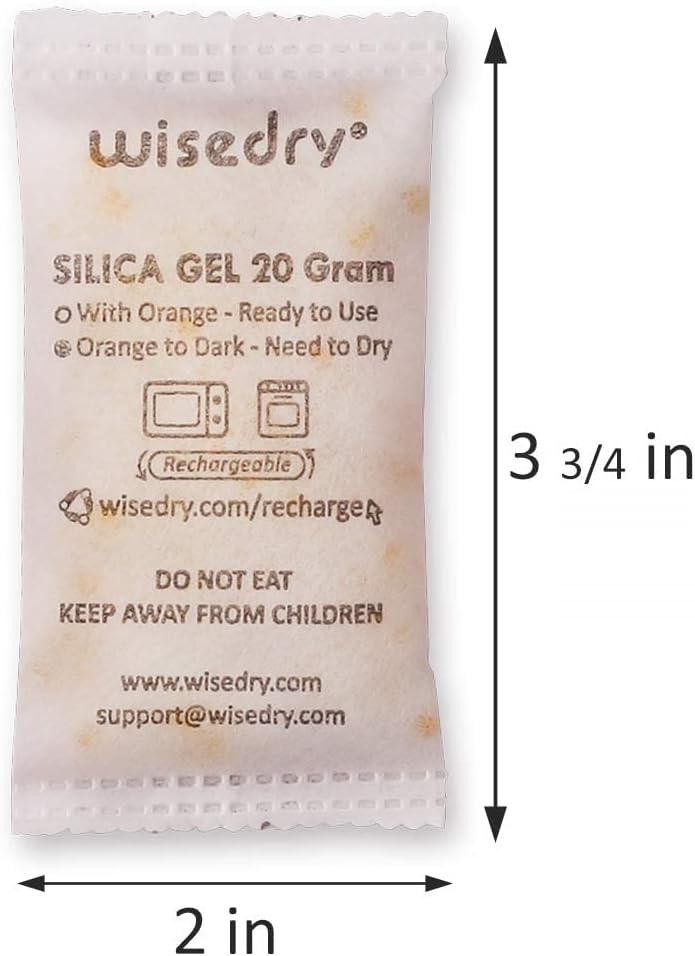
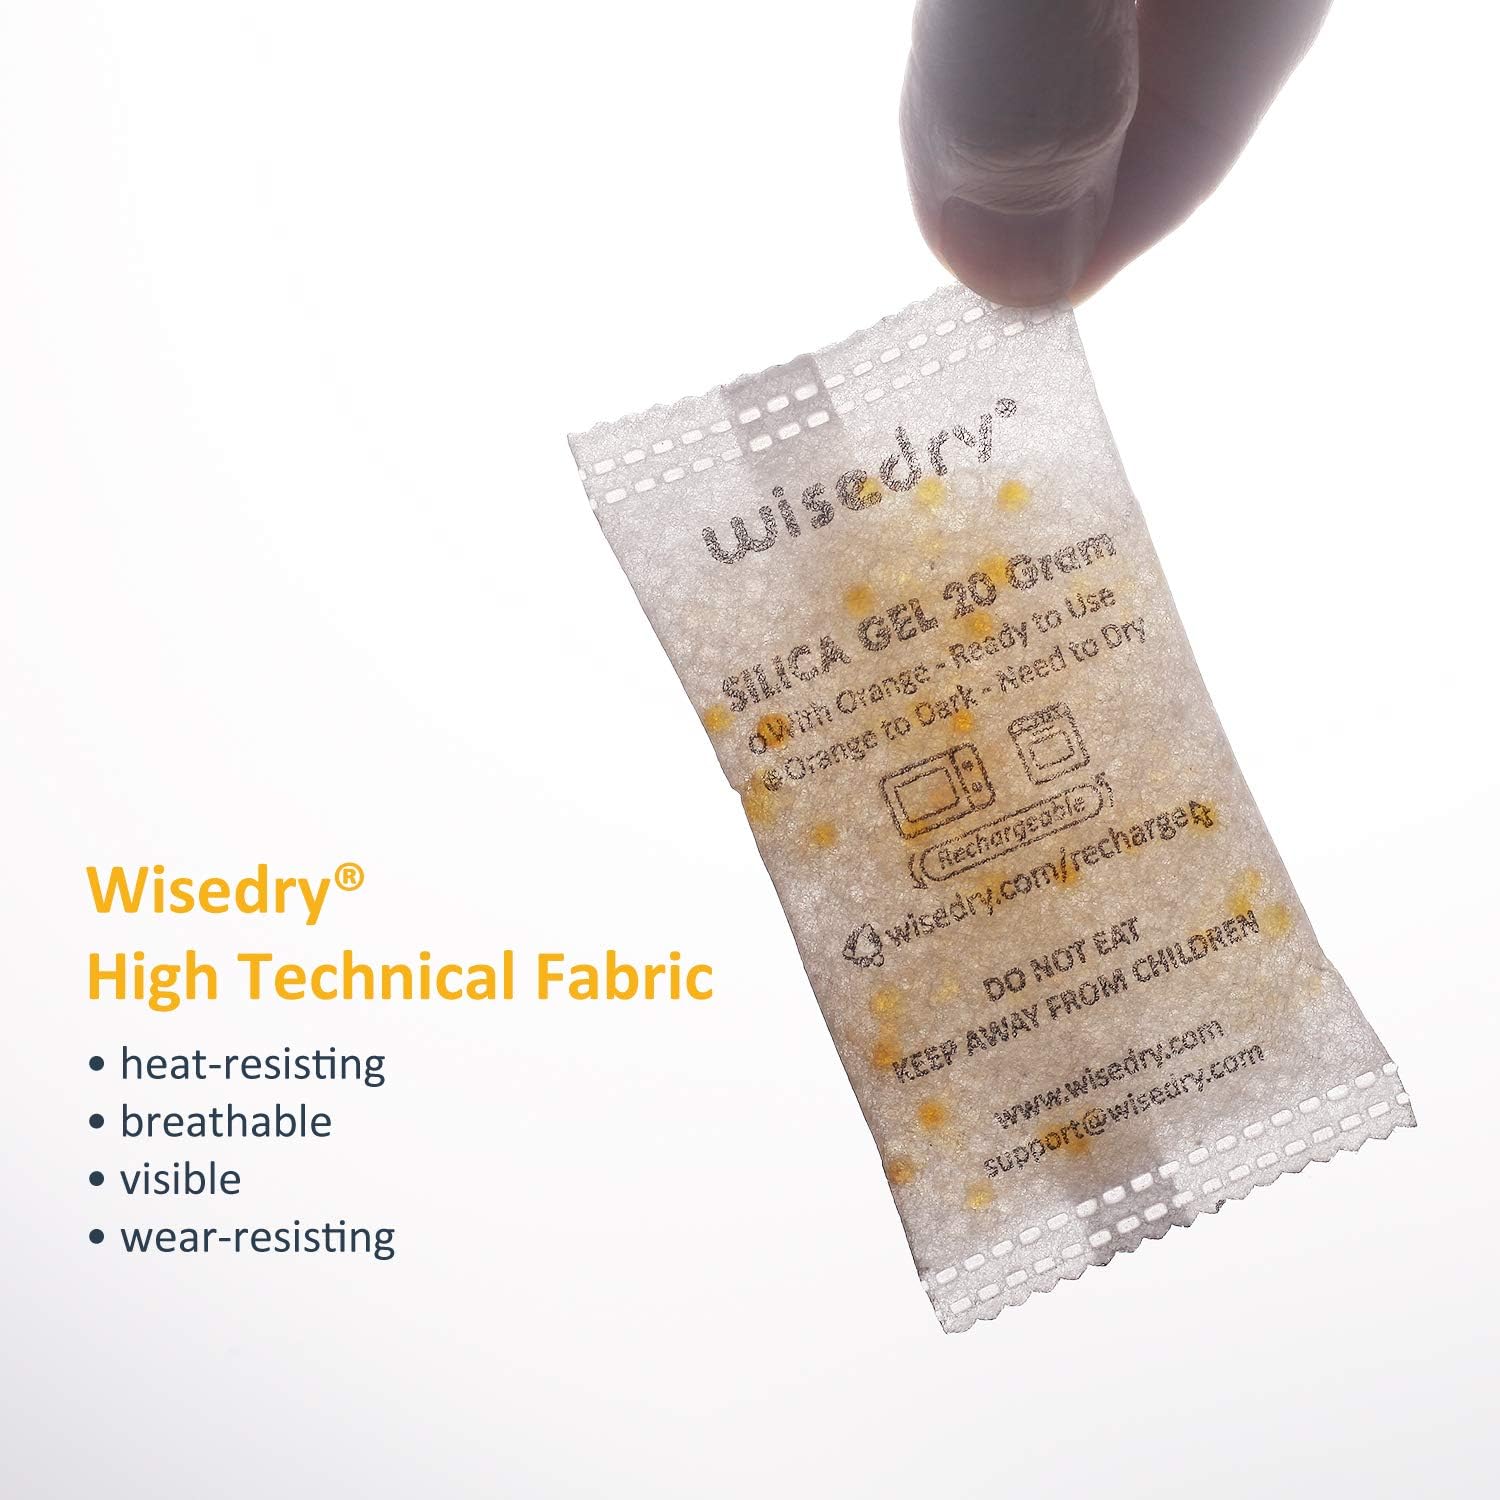
Reusable indicating silica gel is useful because the color provides a condition check. Compare the beads with the product’s dry and recharge reference. If the indicator has reached its recharge condition, the packet has little useful reserve left for the box.
Before reuse:
- follow the instructions for the exact packet size and heating method;
- recharge until the indicator returns to its specified dry color;
- let the packet cool completely at room temperature;
- inspect seams and fabric before returning it to service;
- replace a torn or leaking packet rather than putting it back.
Use the Wisedry recharge guide for medium rechargeable sachets. Different packet sizes may have different instructions, so do not borrow a heating time from another product.
4. Give The Packet Open Airflow
A packet buried under a stack of paper or squeezed between folded fabric cannot exchange air efficiently with the rest of the container. It may dry the tiny pocket immediately around itself while distant corners remain damp.
Choose a position that is:
- visible when the lid opens;
- surrounded by some open airspace;
- away from the latch and hinge path;
- not compressed by heavy objects;
- separated from sharp edges or moving parts.
For long or divided boxes, several smaller packets placed in separate open zones may distribute access better than one packet trapped at one end. That does not automatically mean you need more total desiccant; placement comes first. Review where not to place a desiccant pack in a storage box before changing the setup.
5. Match The Amount To The Real Moisture Load
Container volume matters, but it is only one variable. The required starting amount also changes with:
- seal quality;
- room humidity;
- how often and how long the lid stays open;
- the moisture carried by stored materials;
- packet size and format;
- the interval between checks and recharges.
Use the Wisedry Amount Guide to choose a starting amount, then adjust from observations. If a correctly recharged packet saturates unusually fast, investigate the seal and contents before adding more. A large quantity cannot compensate indefinitely for an open gap or a wet object.
6. Account For How Often The Box Opens
Every opening replaces some of the conditioned air with room air. A craft box opened daily, a parts organizer used each weekend, and a seasonal tote closed for six months do not have the same moisture load even if their dimensions match.
For frequently opened containers:
- keep the lid open only as long as needed;
- return the packet to the same visible location;
- attach checks to the normal restocking routine;
- keep a fully recharged spare sealed separately for quick rotation;
- note whether the indicator changes after a specific humid day or long open session.
A simple date label turns guesswork into evidence. Record the recharge date, packet size, quantity, and the next check. The desiccant rotation log guide shows an easy setup for multiple boxes.
A 15-Minute Reset Test
When you cannot identify the cause immediately, reset the system in this order:
- Empty the box and dry the container completely.
- Remove any item that is not clearly dry.
- Clean and inspect the lid rim, gasket, hinges, and latches.
- Recharge the packet according to its instructions and cool it fully.
- Place the packet in open airspace inside the empty box.
- Close the box without anything crossing the seal.
- Leave it closed for a reasonable test period, then inspect the lid and indicator.
- Add only dry contents back in small groups, noting when the damp signal returns.
This test separates a container problem from a contents problem. If the empty box remains stable but dampness returns after one group of items goes back, inspect that group. If the empty box still gains moisture quickly, focus on the lid, gasket, room conditions, and packet condition.
Common Fixes That Do Not Solve The Cause
Adding packets before checking for wet contents
Extra capacity may absorb some moisture, but a wet item can continue releasing vapor until every packet is saturated.
Recharging and sealing the packet while it is warm
Let it cool fully before placing it in the container. A warm pack changes the local air conditions and can re-adsorb released moisture as it cools.
Putting desiccant in an open basket or loose-lidded bin
Continuous room-air exchange can overwhelm a small packet. Use a container that closes evenly.
Burying the packet to keep it out of sight
Hidden placement often means blocked airflow and missed indicator checks. Visibility is part of the maintenance system.
Treating a room-level problem as a box problem
If walls, floors, windows, or shelves are visibly wet, stop the container experiment and address the moisture source. A packet inside a tote is not a building dehumidifier or leak repair.
FAQ
Why is there condensation under the lid even with silica gel inside?
Condensation usually means moist air or a damp item entered the box and then met a cooler surface. Empty and dry the box, inspect contents, confirm the lid closes evenly, and start again with a fully recharged, cooled packet.
Does a fast color change mean the packet is defective?
Not necessarily. Rapid indicator change can show a high moisture load, frequent opening, a poor seal, or wet contents. Check those conditions first. If the packet does not return to its specified dry color after the correct recharge process, follow the product guidance or contact support.
Should I add more silica gel to a damp storage container?
Only after checking the contents, seal, packet condition, airflow, and opening routine. Then use the Amount Guide for a starting quantity. More desiccant may extend the interval between recharges, but it will not correct a lid gap or dry a wet item safely.
Where should I place the packet?
Use open airspace near the top or side of the box where the packet stays visible, uncompressed, and away from latches and sharp edges. In a long box, separate positions may improve air access.
How often should I check the container?
Check sooner after a reset, then set the interval from real indicator behavior and how often the box opens. Seasonal containers may need checks at packing and reopening; frequently used boxes need checks tied to normal access or restocking.
What if the empty, sealed box still becomes damp?
Recheck the rim, gasket, lid shape, and storage location. If the surrounding area has visible water, persistent condensation, or another room-level moisture source, move the contents and address that source rather than relying on more packets.
Next Steps
Start with the cause, not another packet: dry the contents, verify the seal, recharge and cool the desiccant, and restore open airflow. Use the Amount Guide only after those checks. If the packet behaves unexpectedly after the correct recharge and container reset, visit Wisedry Support for product-specific help, or shop Wisedry reusable silica gel packets when you need a format matched to a closed storage box.
If the container is a hard case rather than a bin, the same failure shows up differently — a crushed desiccant pack in a gear case looks intact while drying almost nothing; the guide covers placement habits that prevent it.